Bell and Howell 462 Autoload DJL Lamp Replacement
Back in 2015 I managed to pick up a Bell and Howell Autoload 462 at an antinque shop in Orange, Ca. This projector serves me well as a way to view and digitize my Super 8mm movies on the cheap. I was fortunate enough to find a projector with a working bulb, but it finally died the other day right as a fresh batch of film was on its way back from the developer.
Back in the day most Bell and Howell projectors took a 120V, 150W DJL bulb and you can actually still find these things online. I’m not sure how much they cost in the heyday of home projectors, but today they are somewhere around $100 dollars, which is a huge amount for something that is only rated for 15 hours of life. Fortunately you can get modern projector bulbs with the same specs for less than $10. The challenge is finding a way to stick them into the old B&H projector. That’s what this page is all about.
Parts List
In the spirit of keeping everything very cheap I tried to use existing parts wherever possible. The new hardware I needed is listed below:
- PLT QVL-1 Socket for MR16 style bulbs. Rated to 650W.
- MR16D projector bulb. There are a lot of MR16 bulbs out there, you need one that is 120V and 150W; the MR16D.
- 1 5-32 x 1/4” screw with button head. I went for brass because it is classy.
- 1 8-32 x 1/4” screw with button head.
- Nuts for the above
- 2 red butt connectors to splice wires together
Procedure
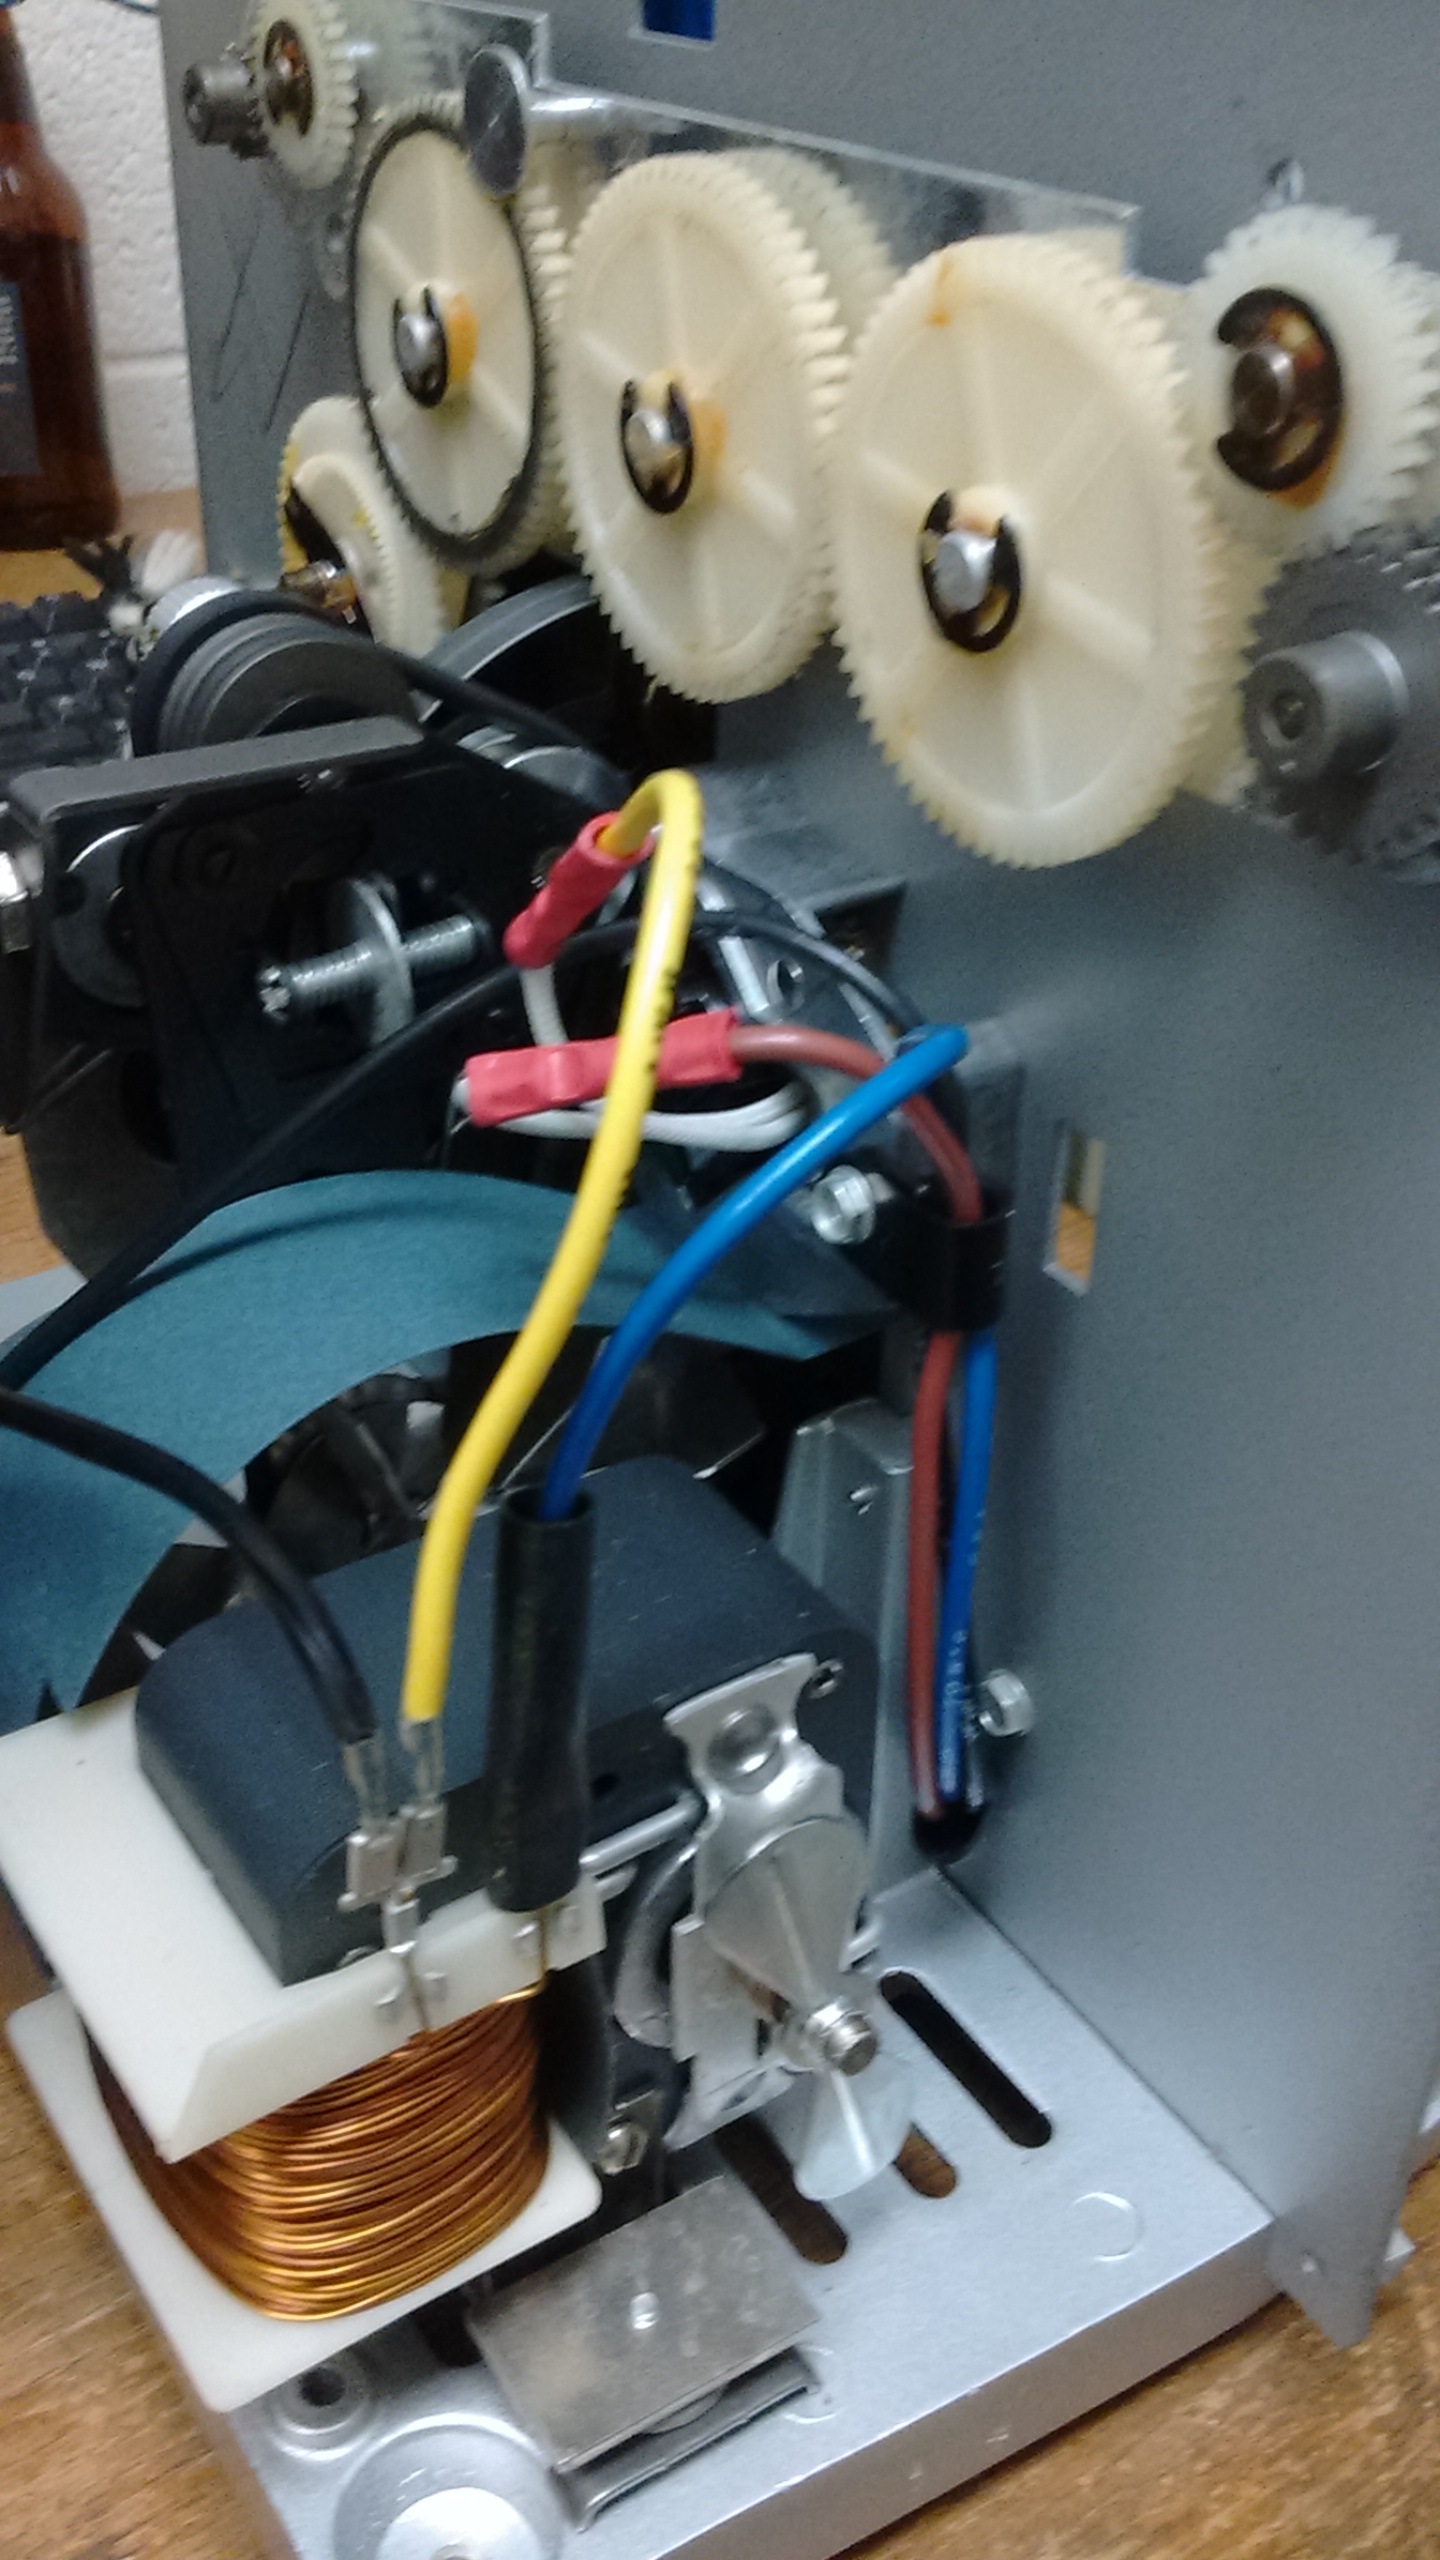
First, remove the case of the projector. Remove all the screws indicated in the images below:
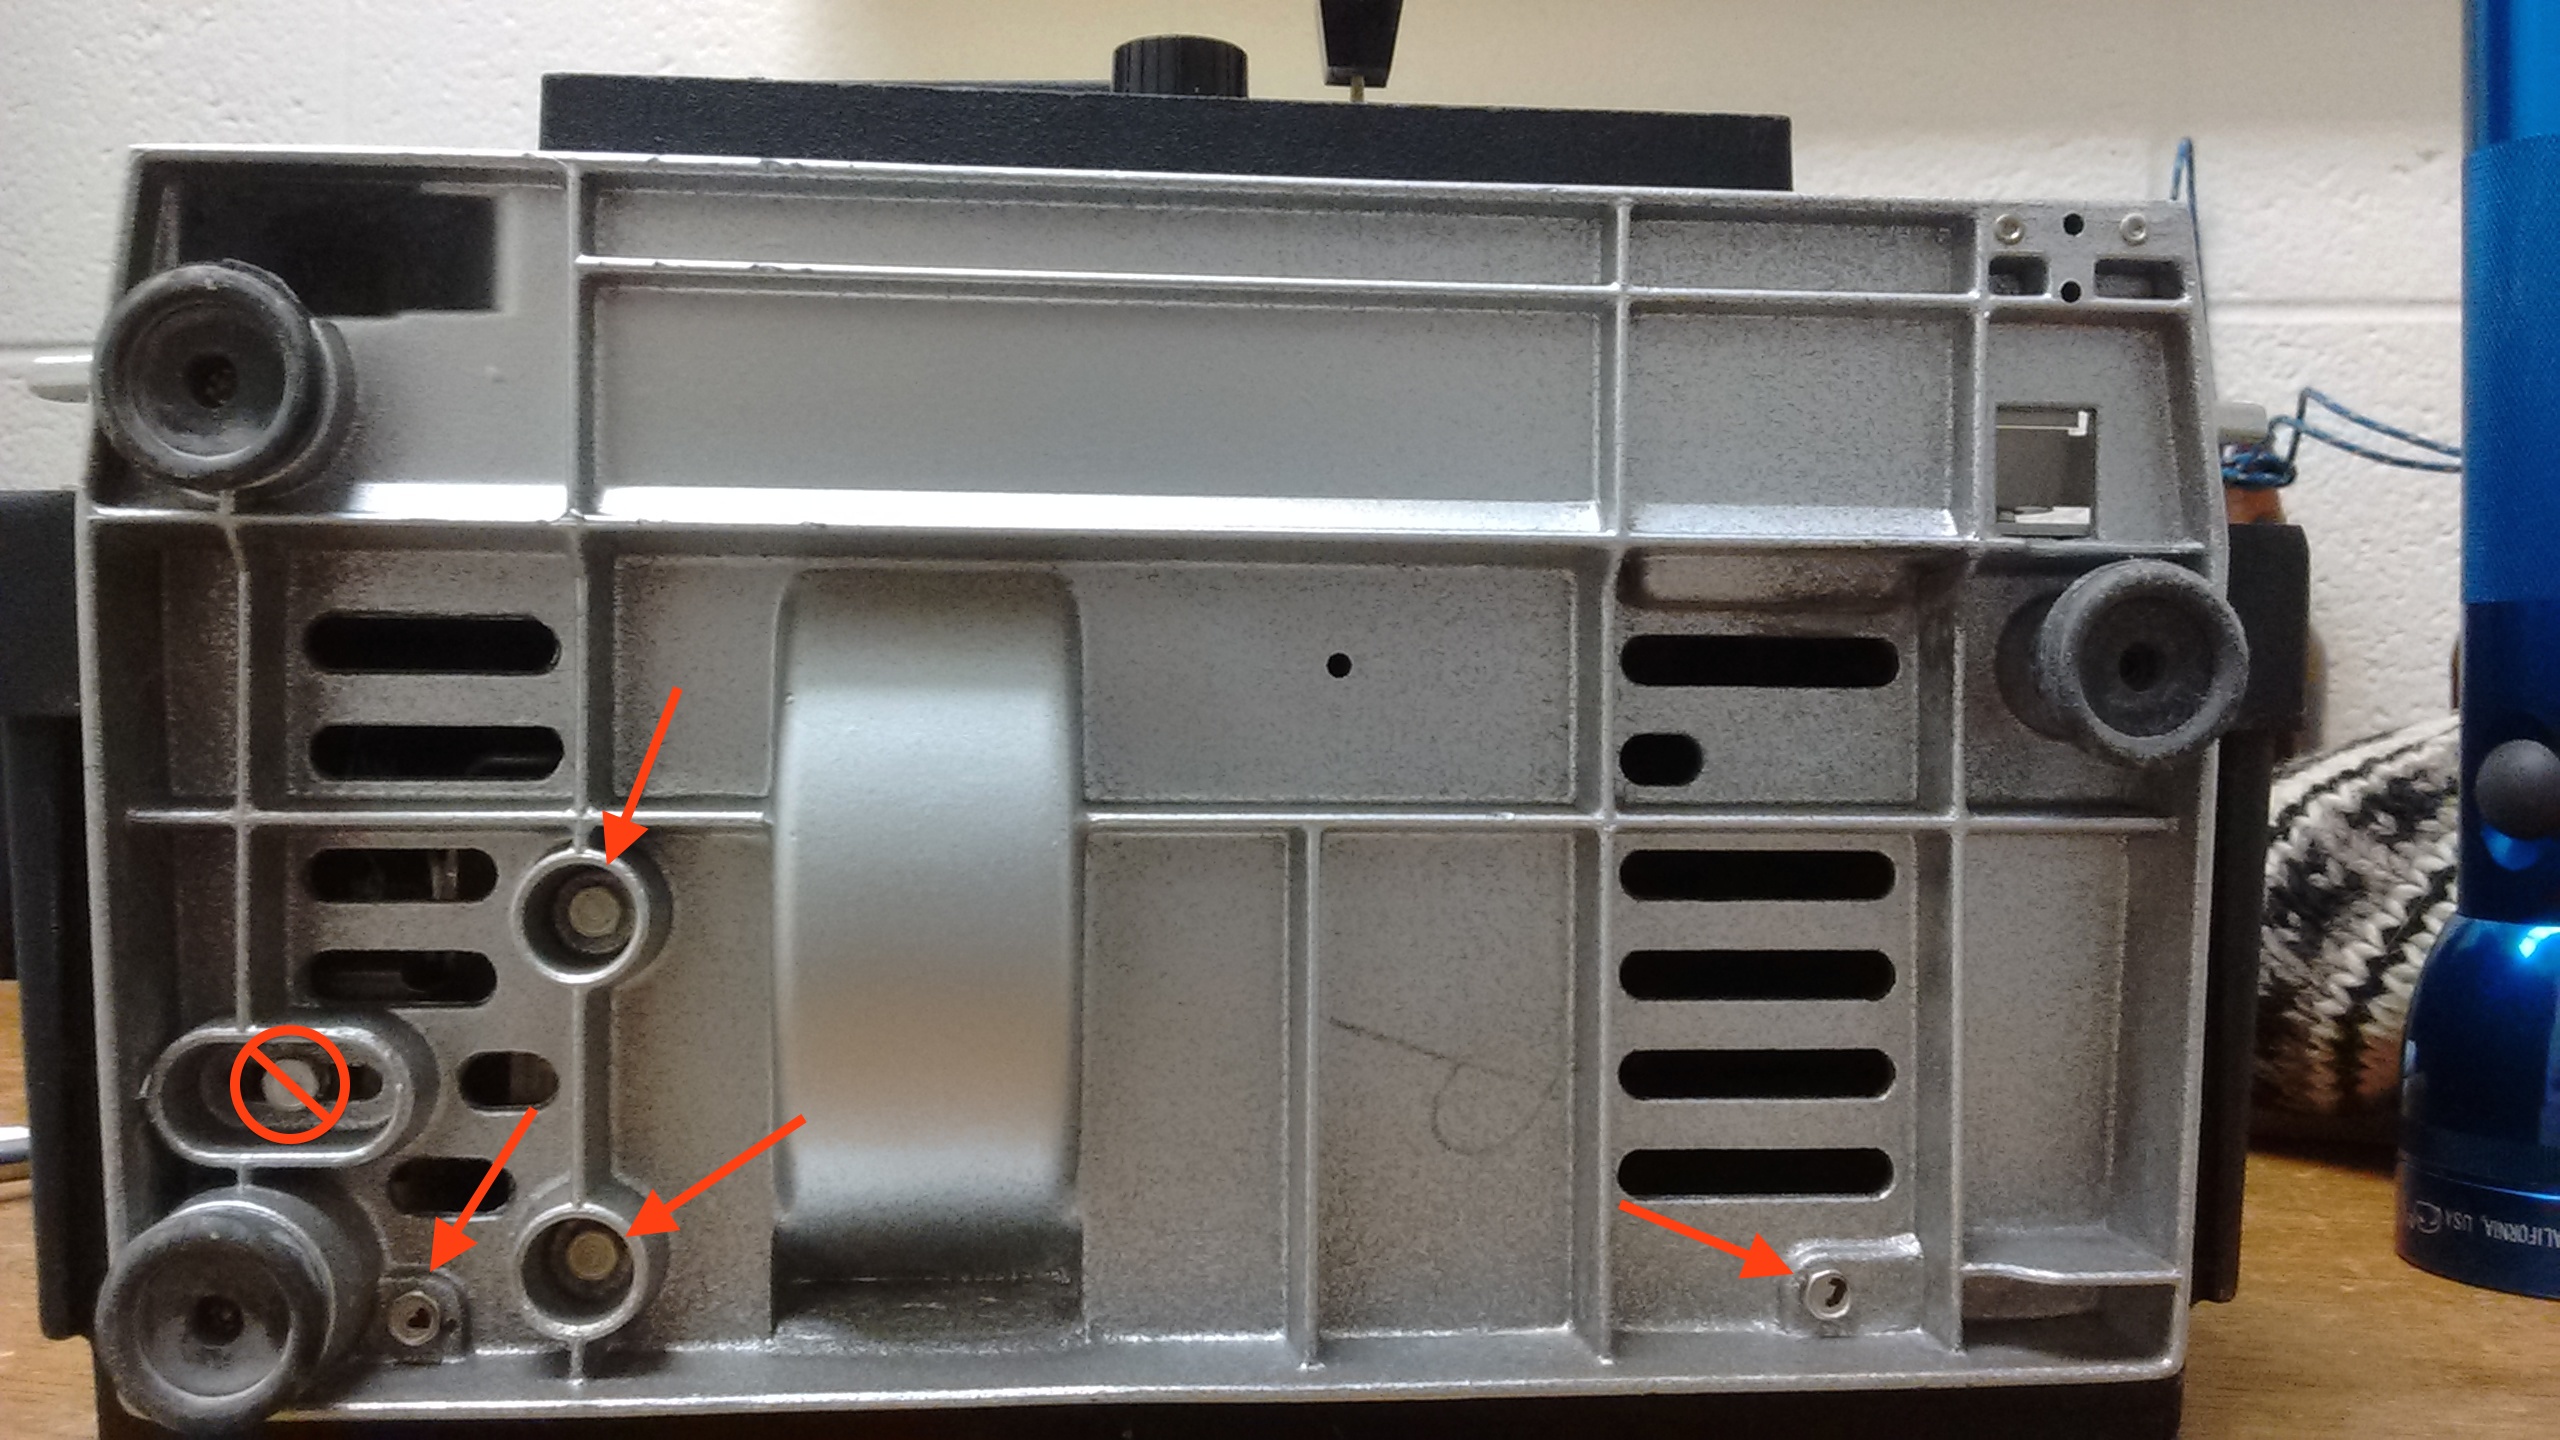
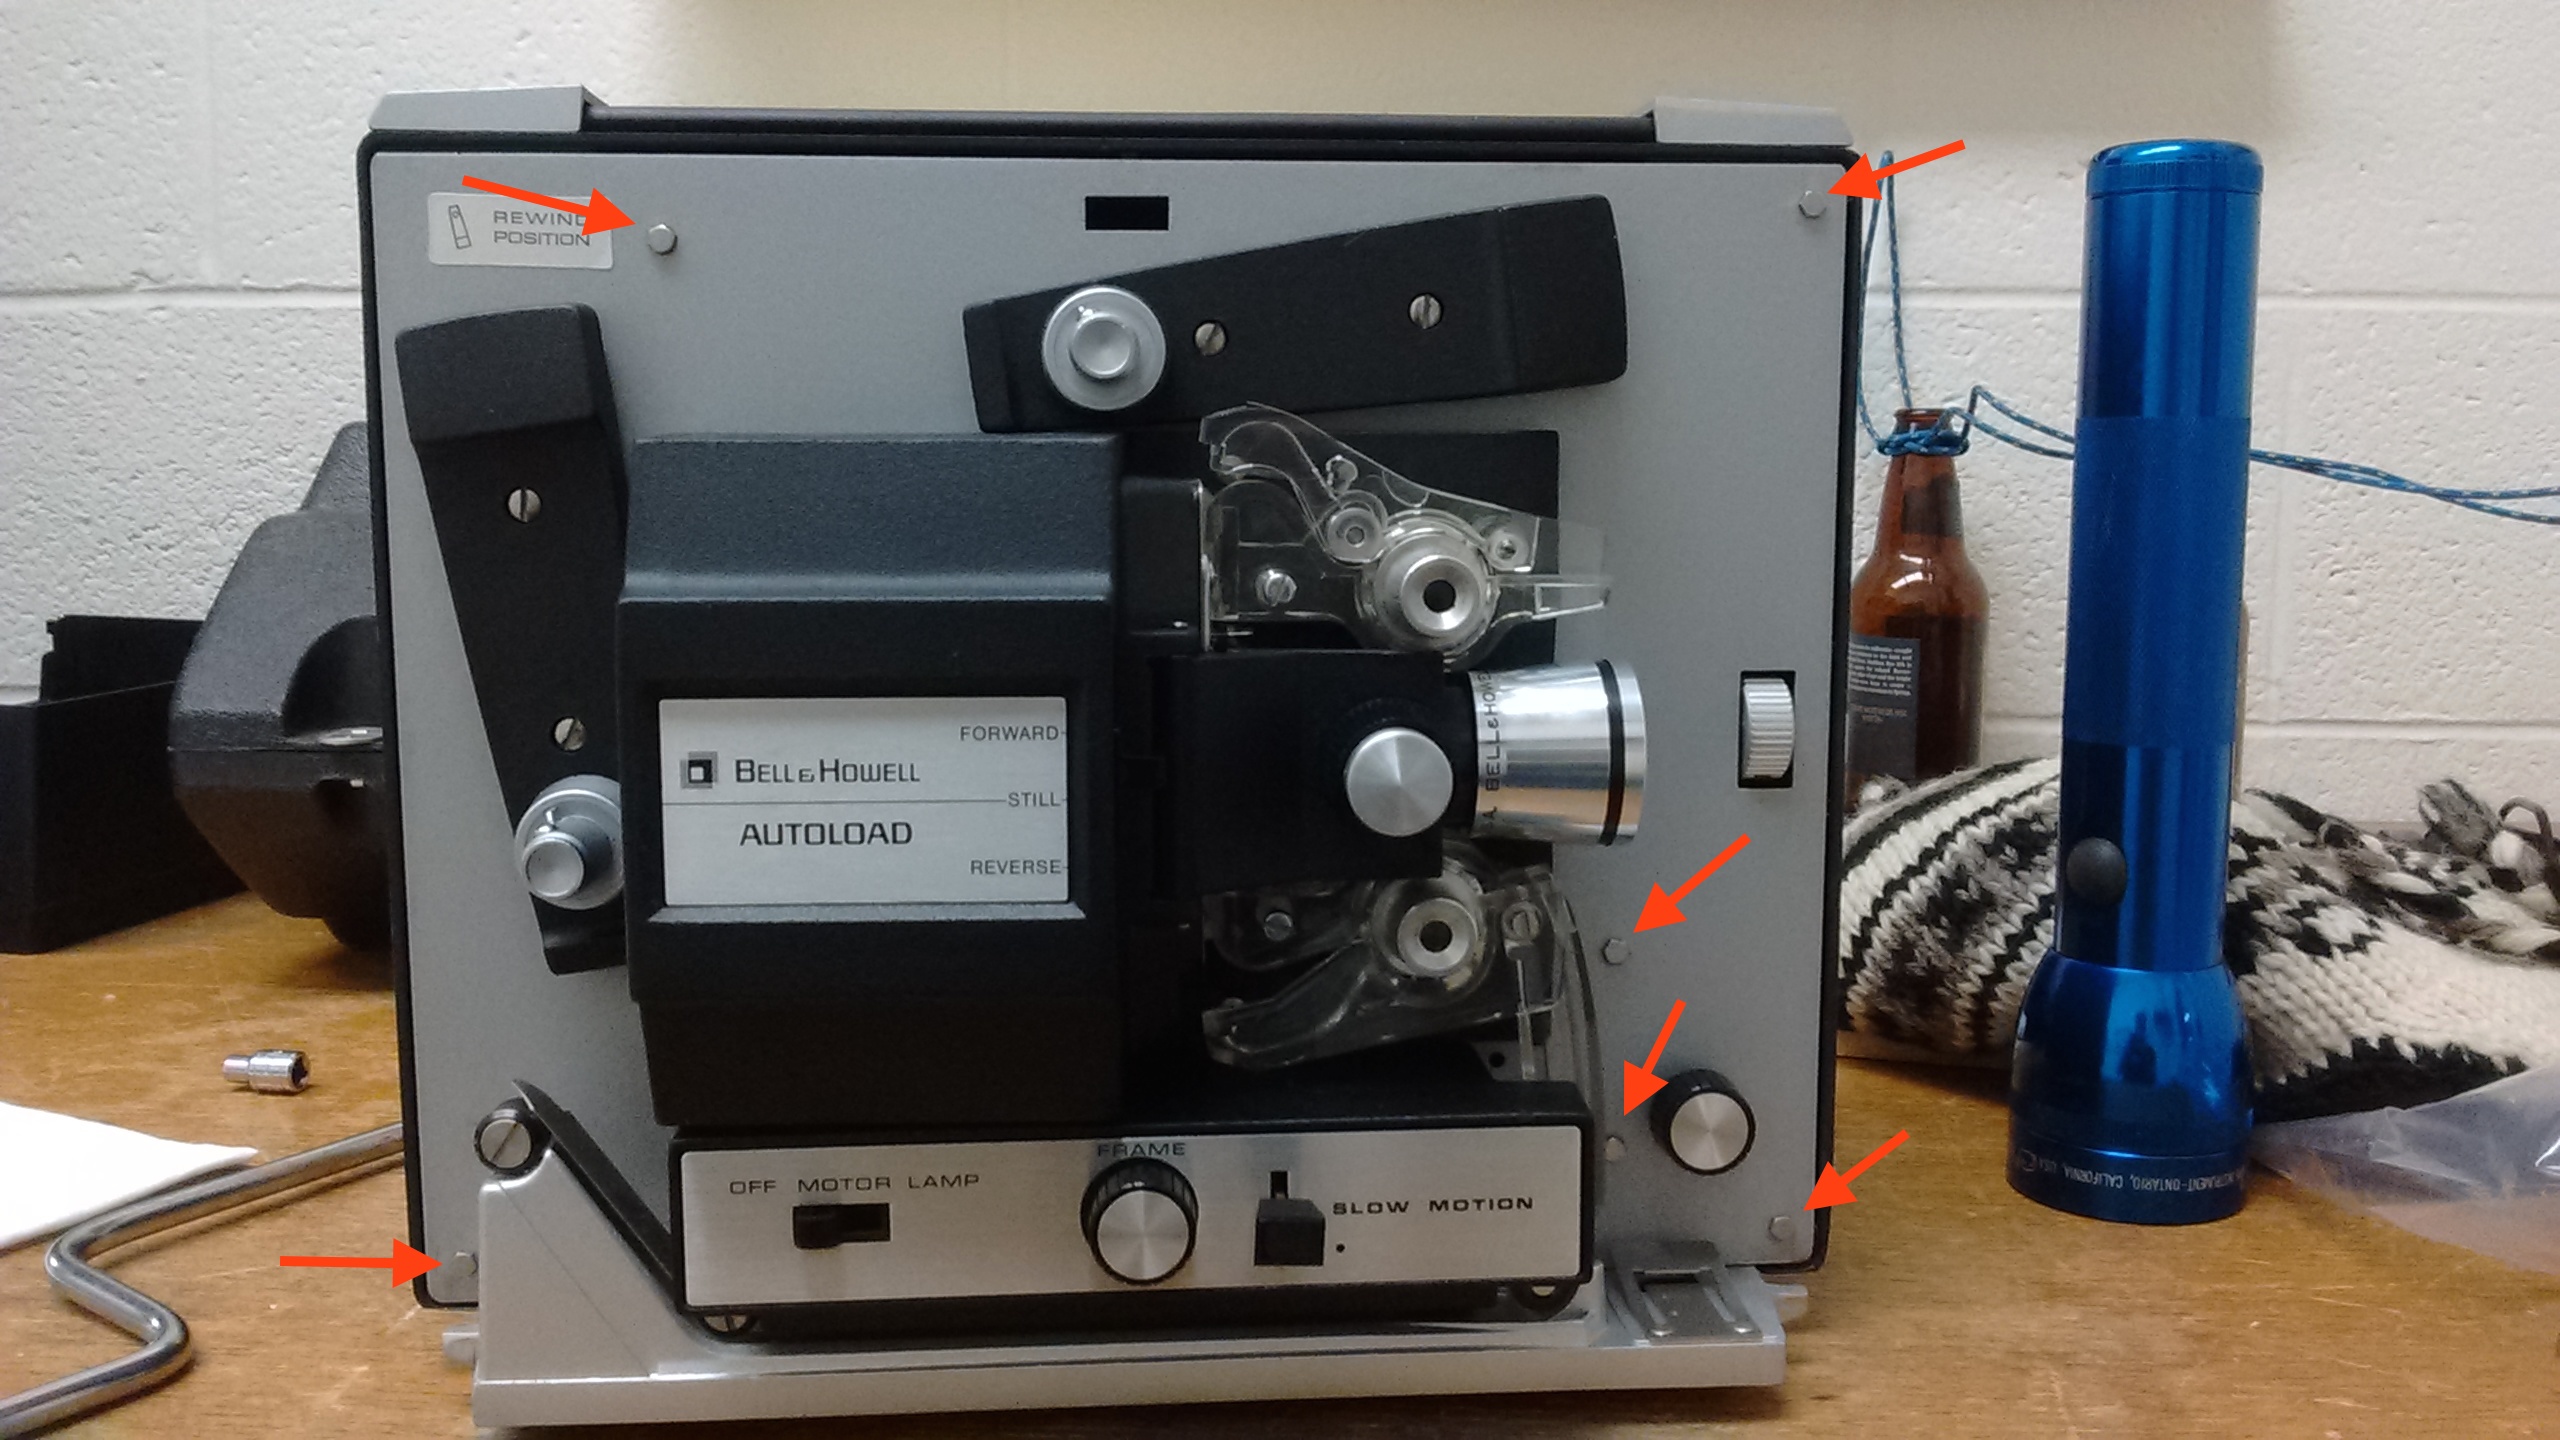
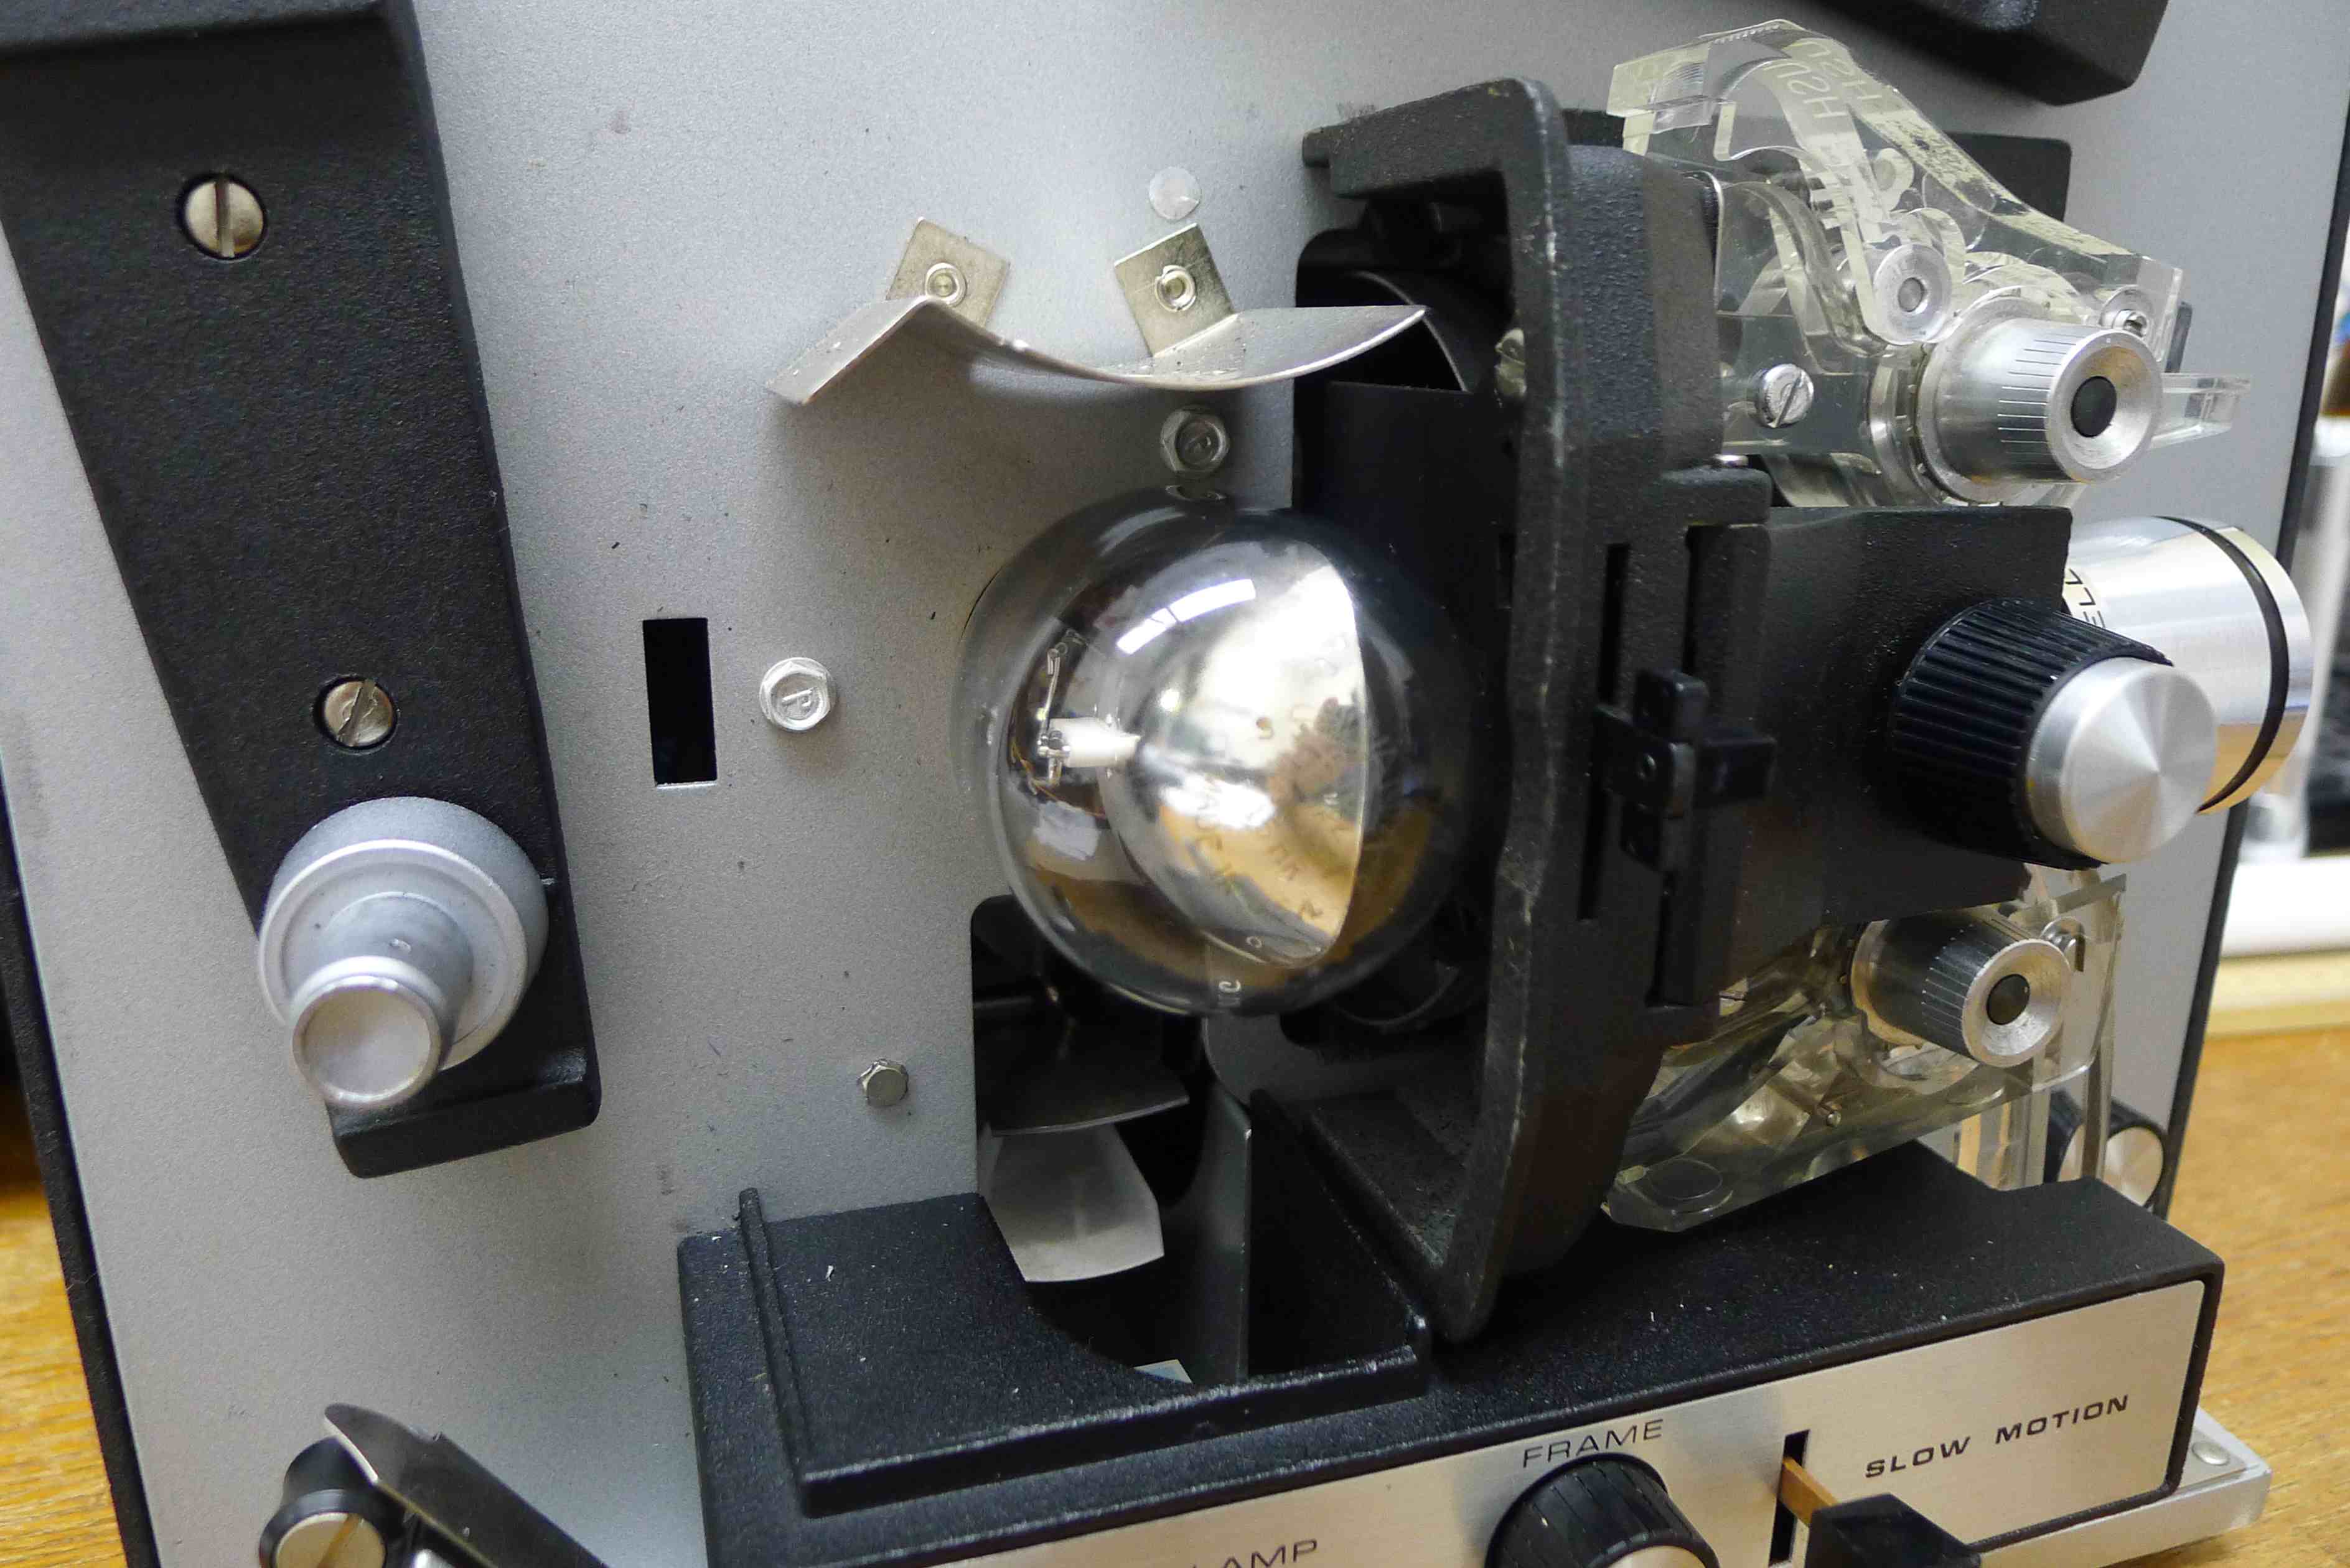
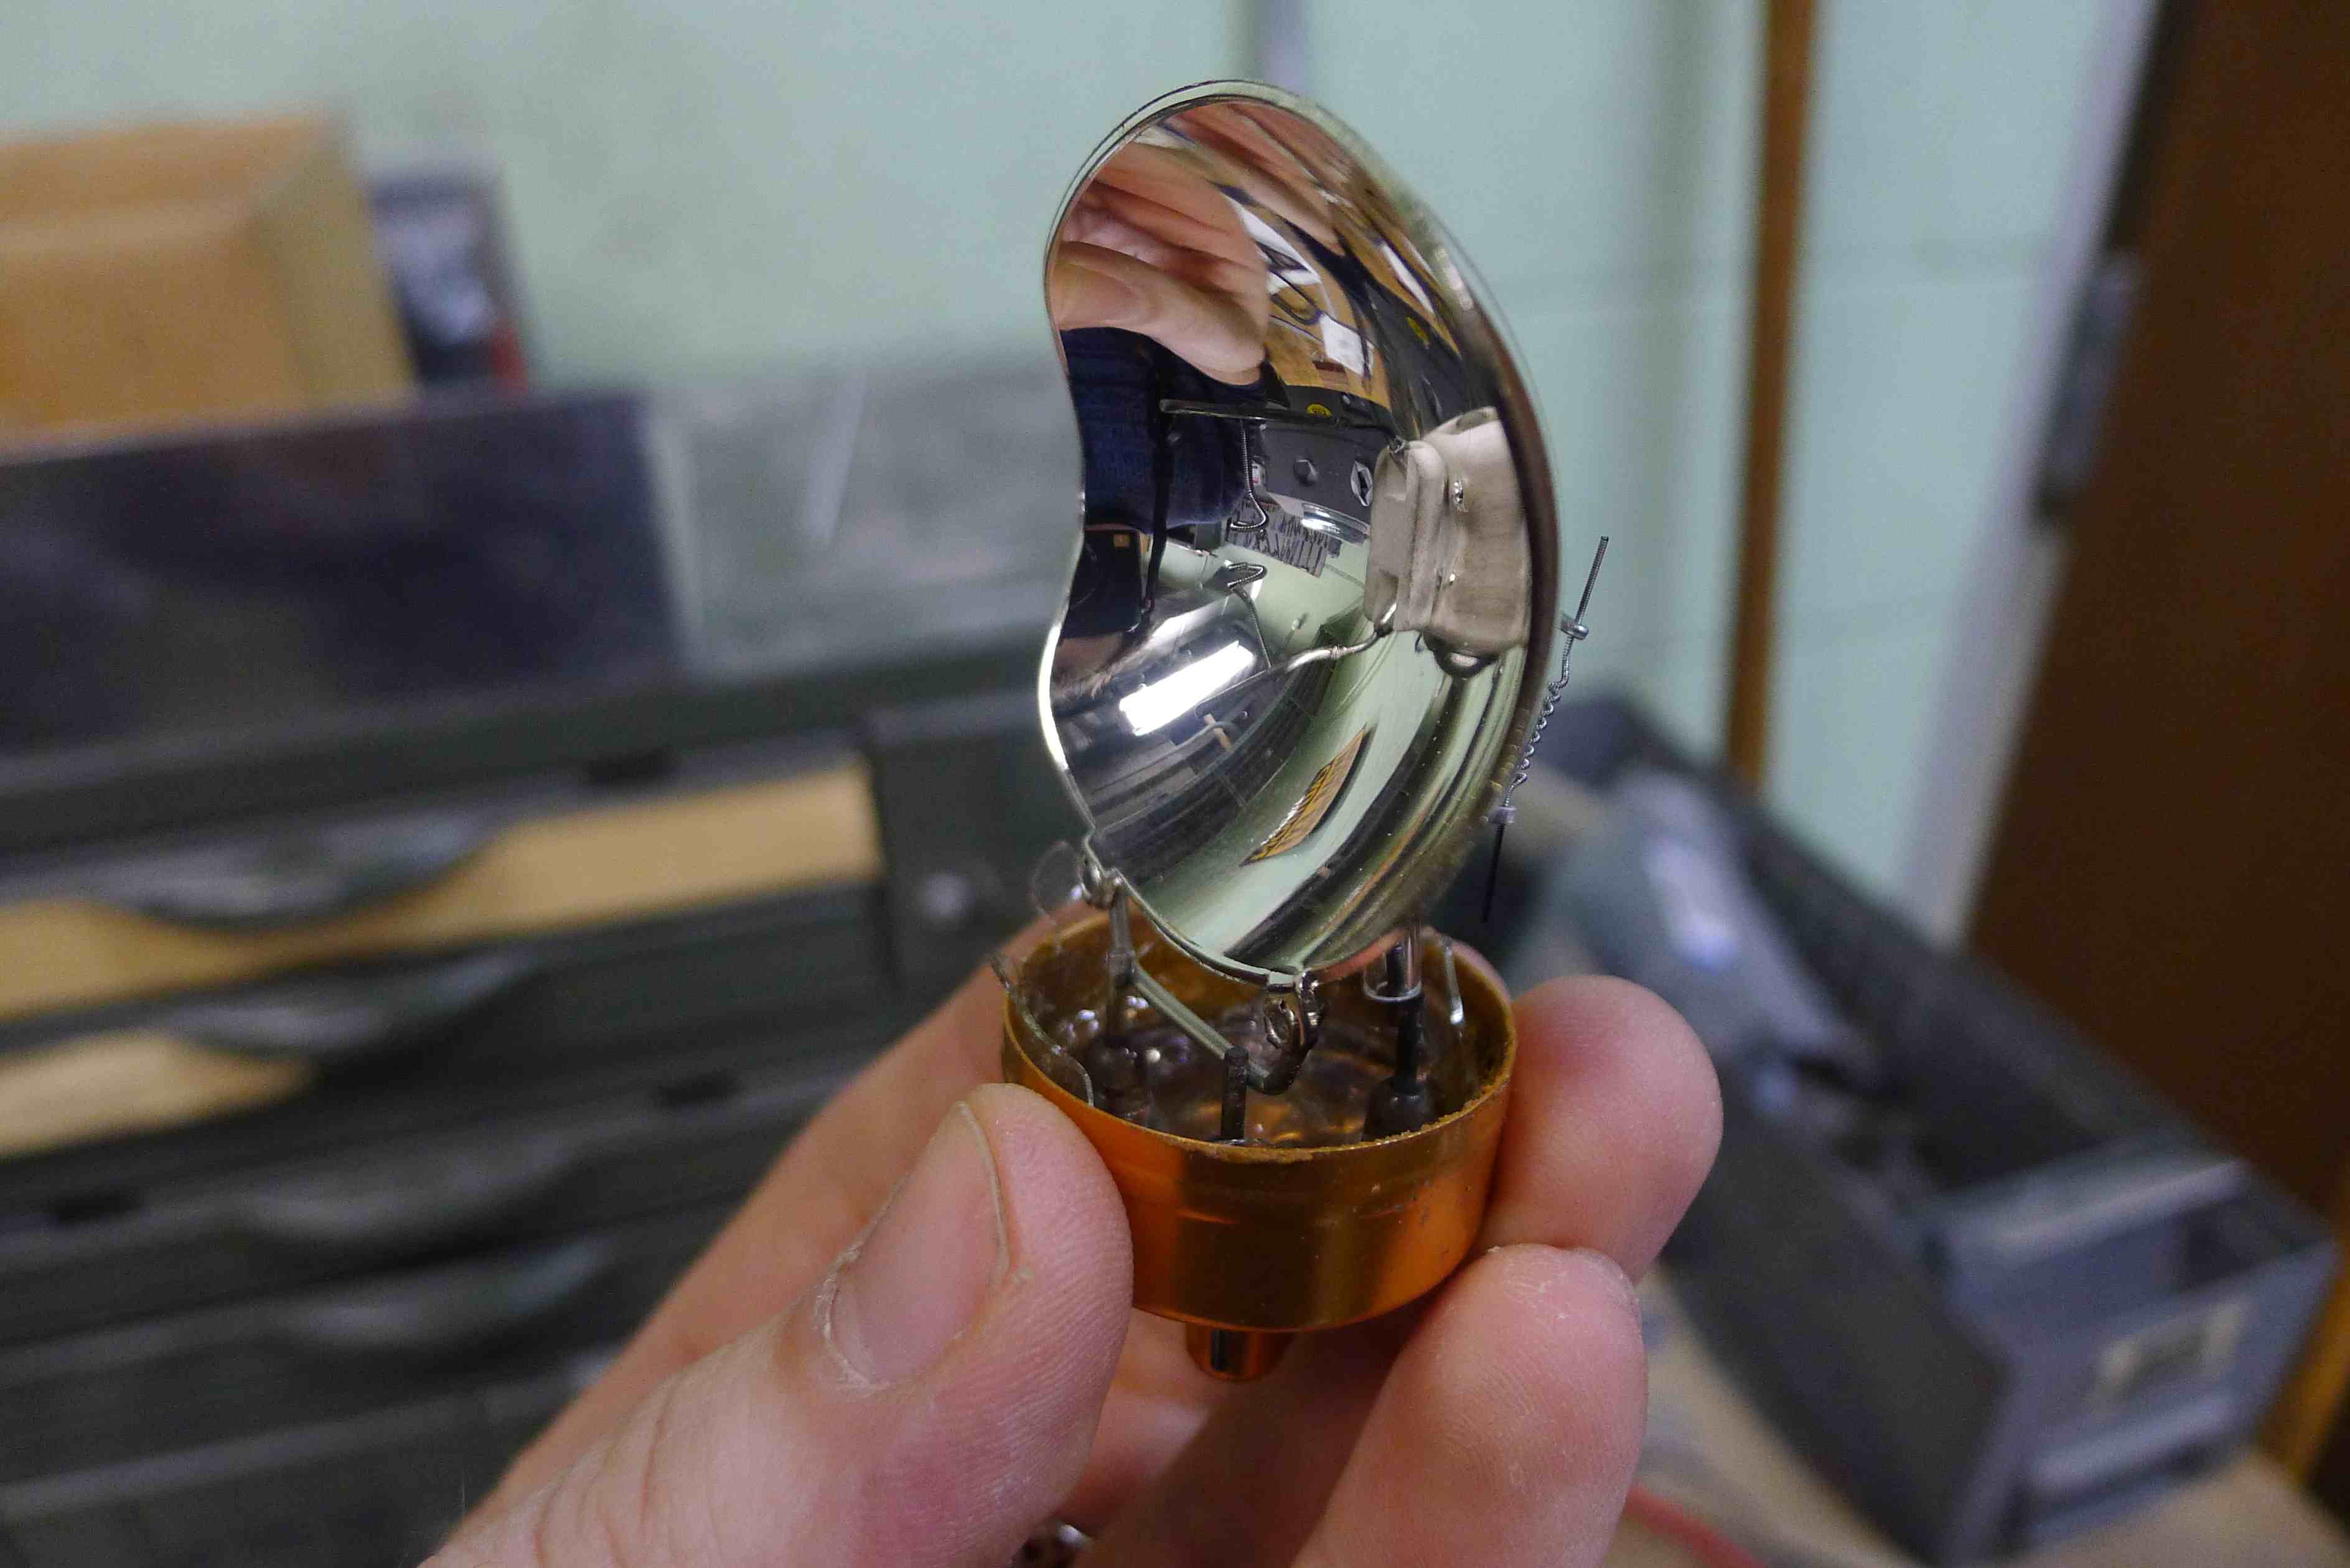
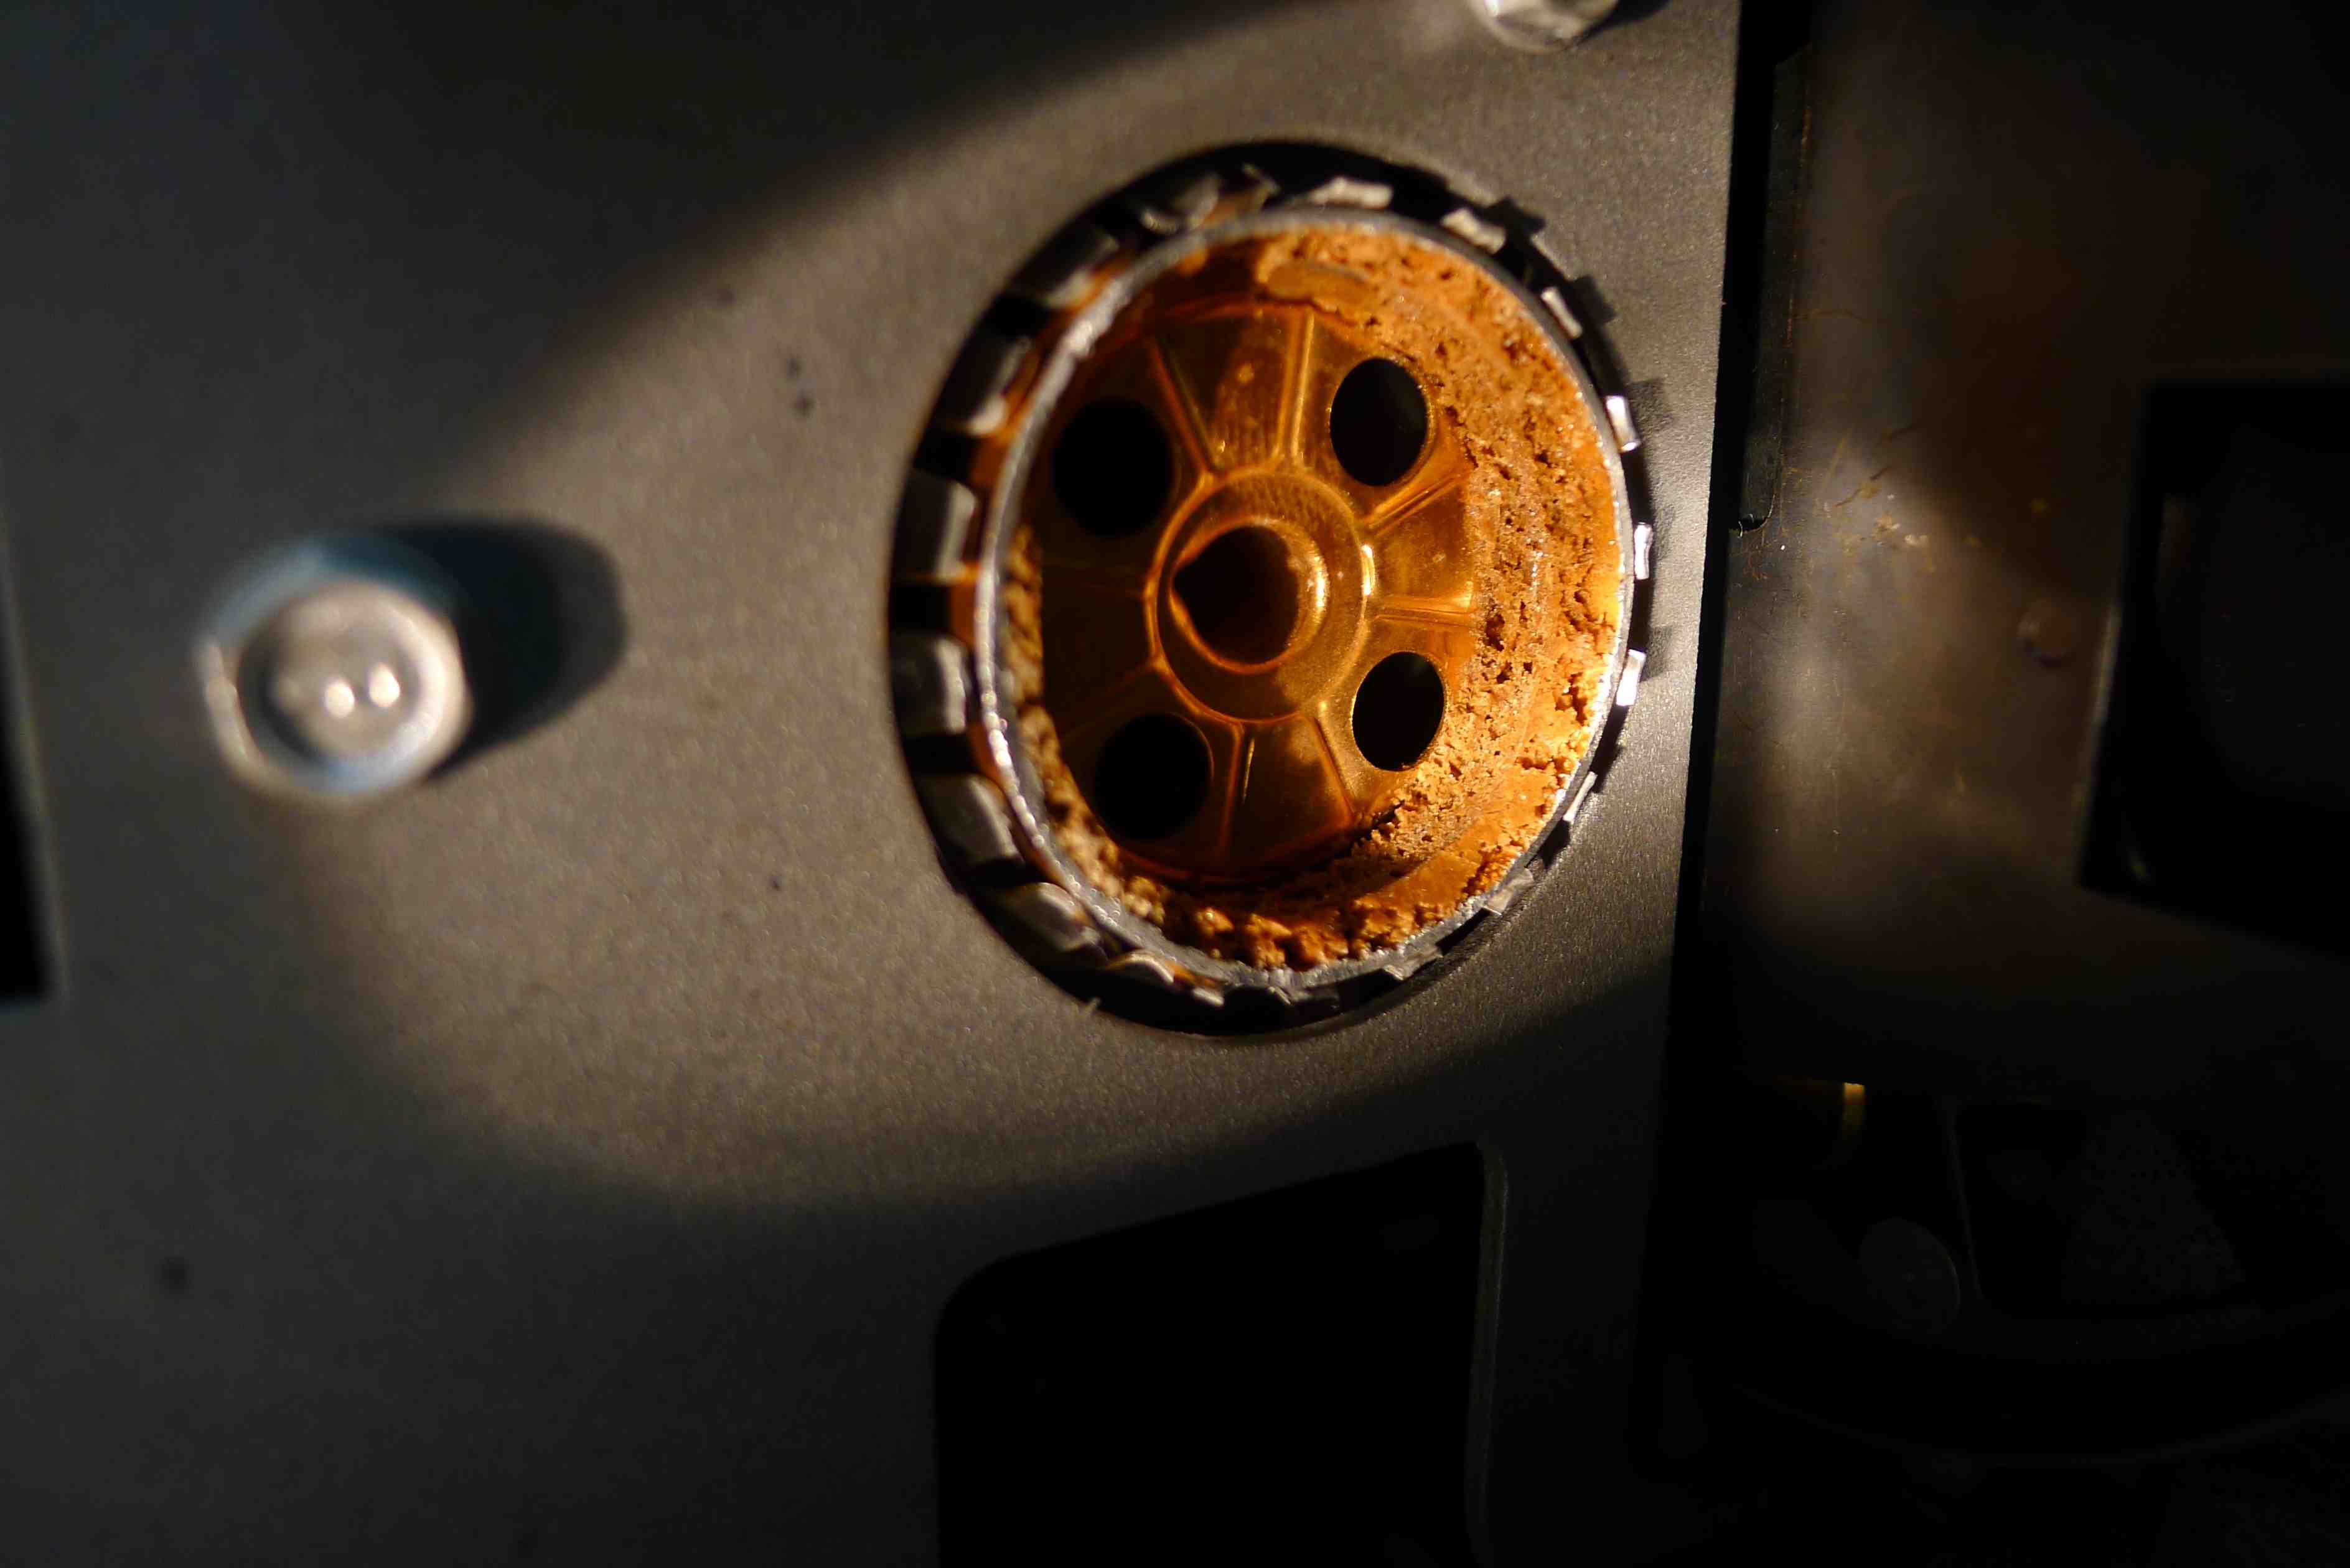
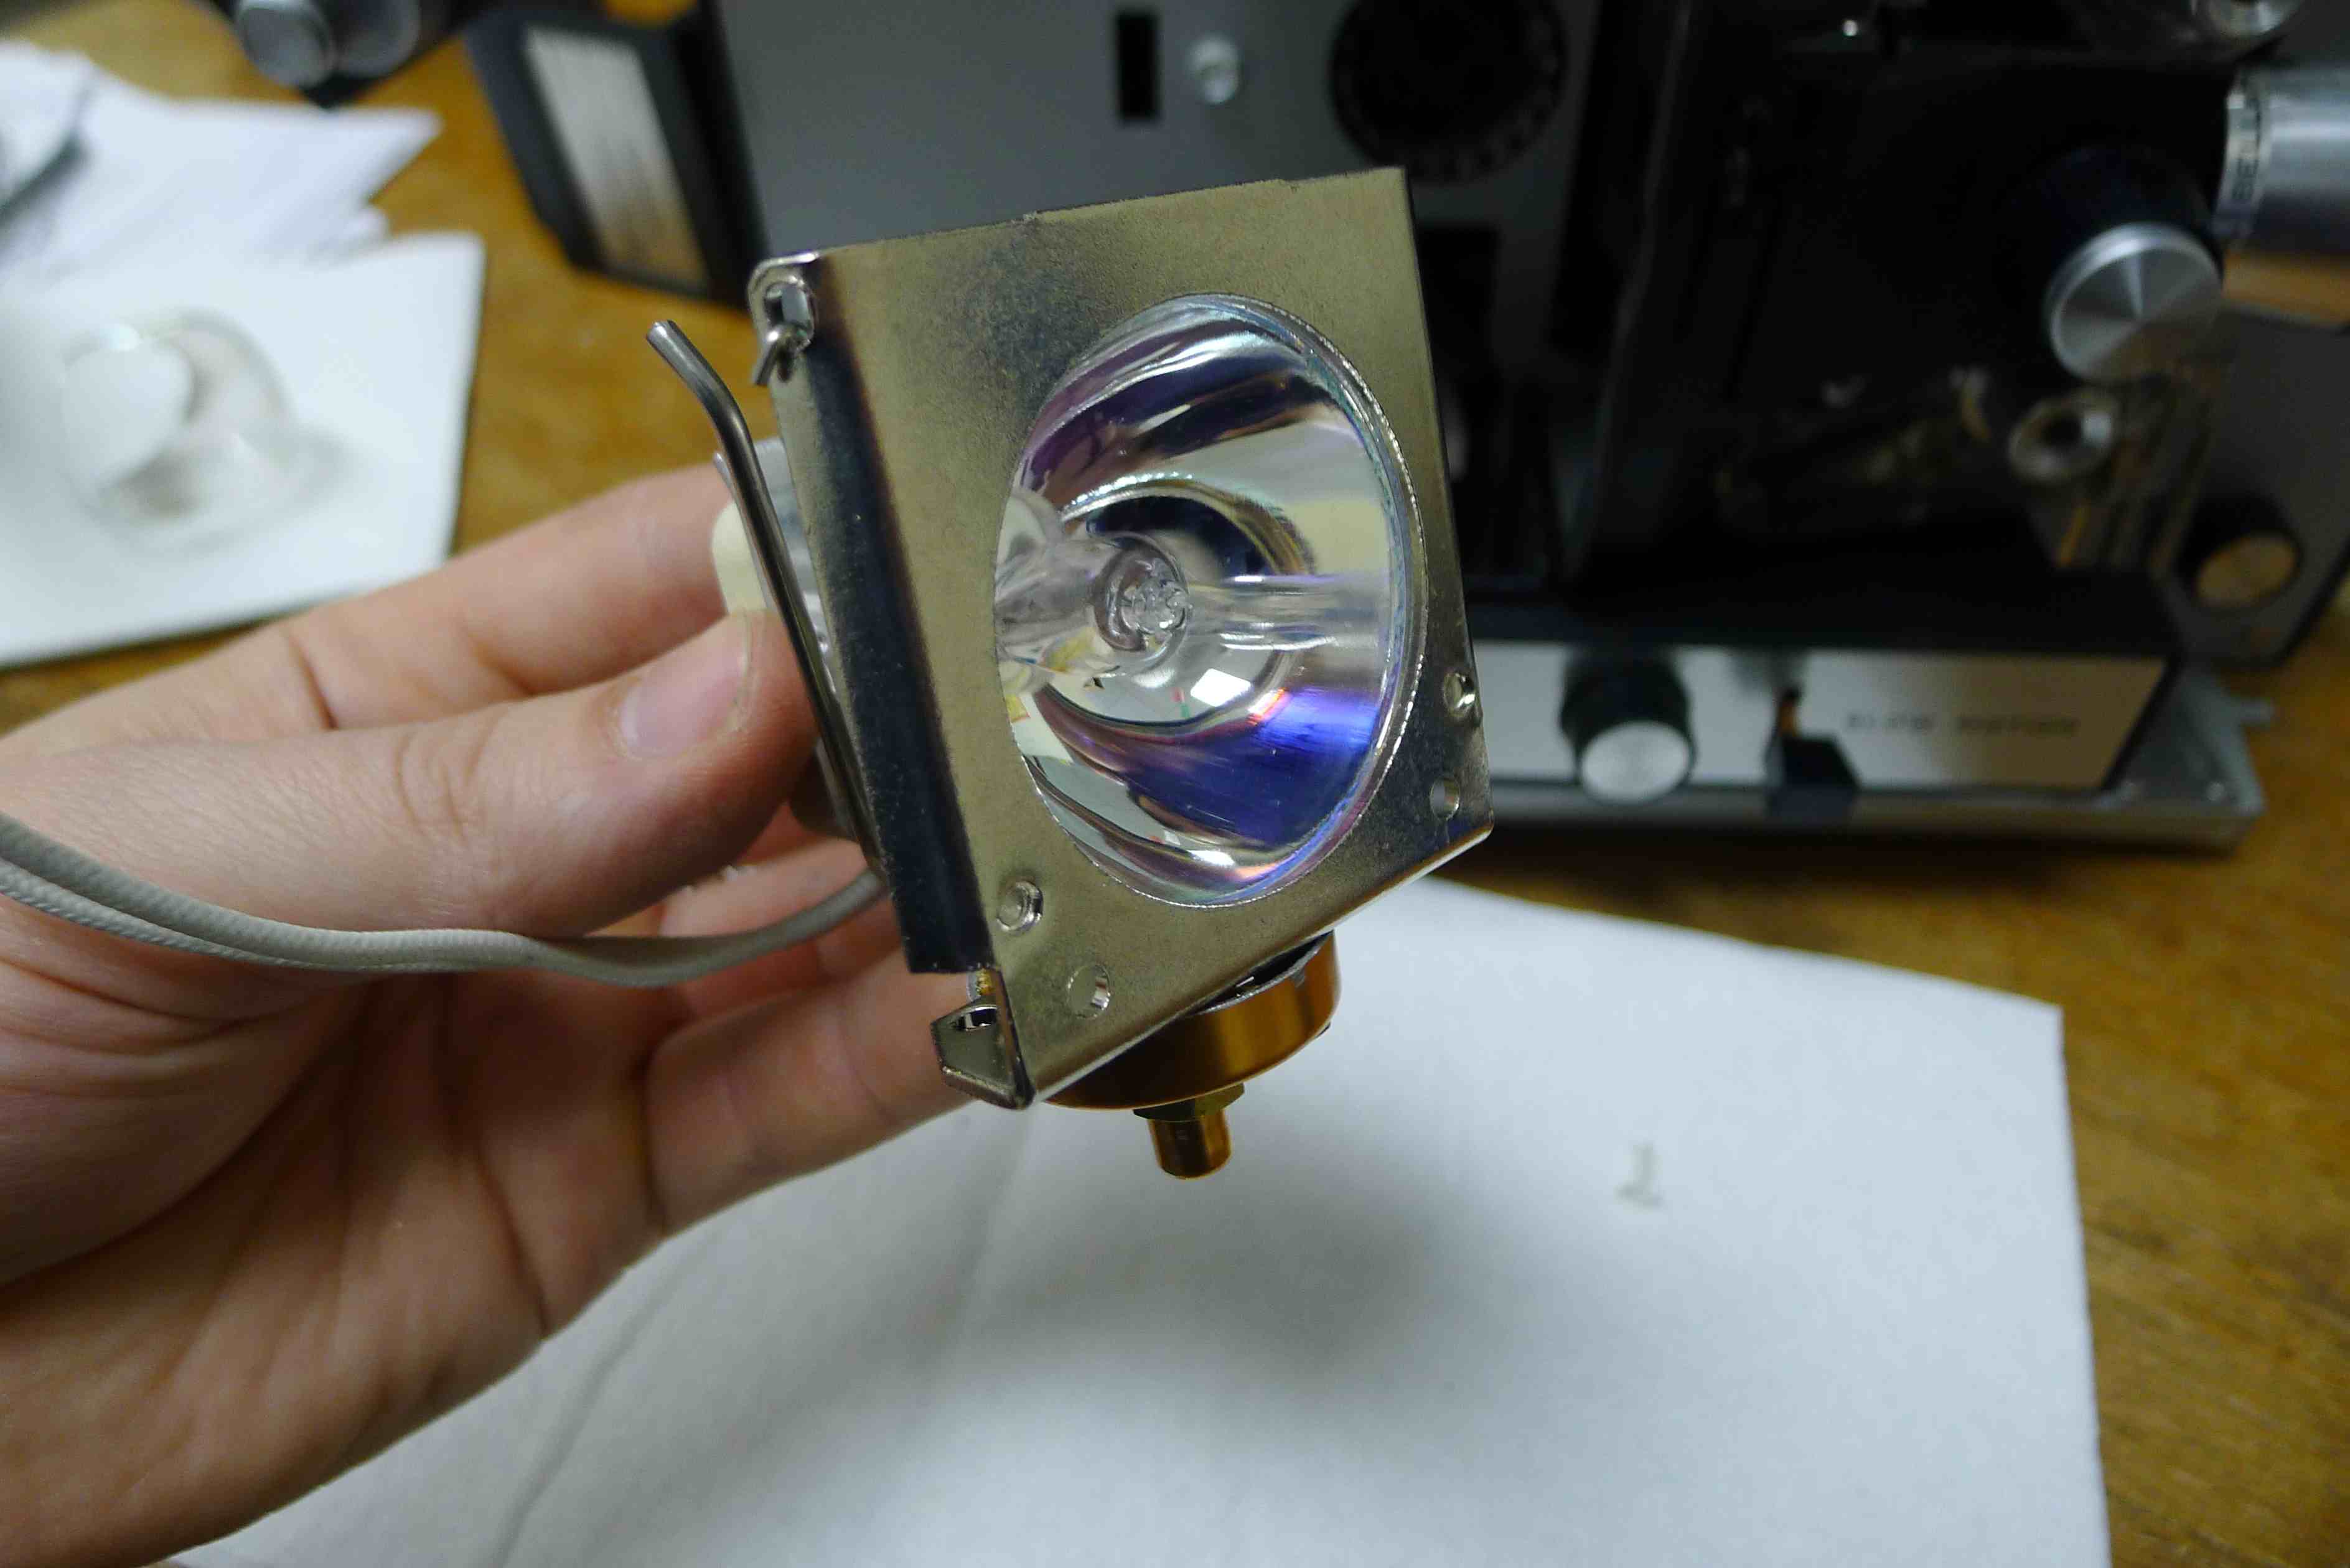
Don’t worry if you remove the bottom screw crossed out above; it mounts a bushing for the motor and can easily be re-attached after the case is off. At this point you will also want to remove the bulb cover on the projector and pull out the old DJL bulb:
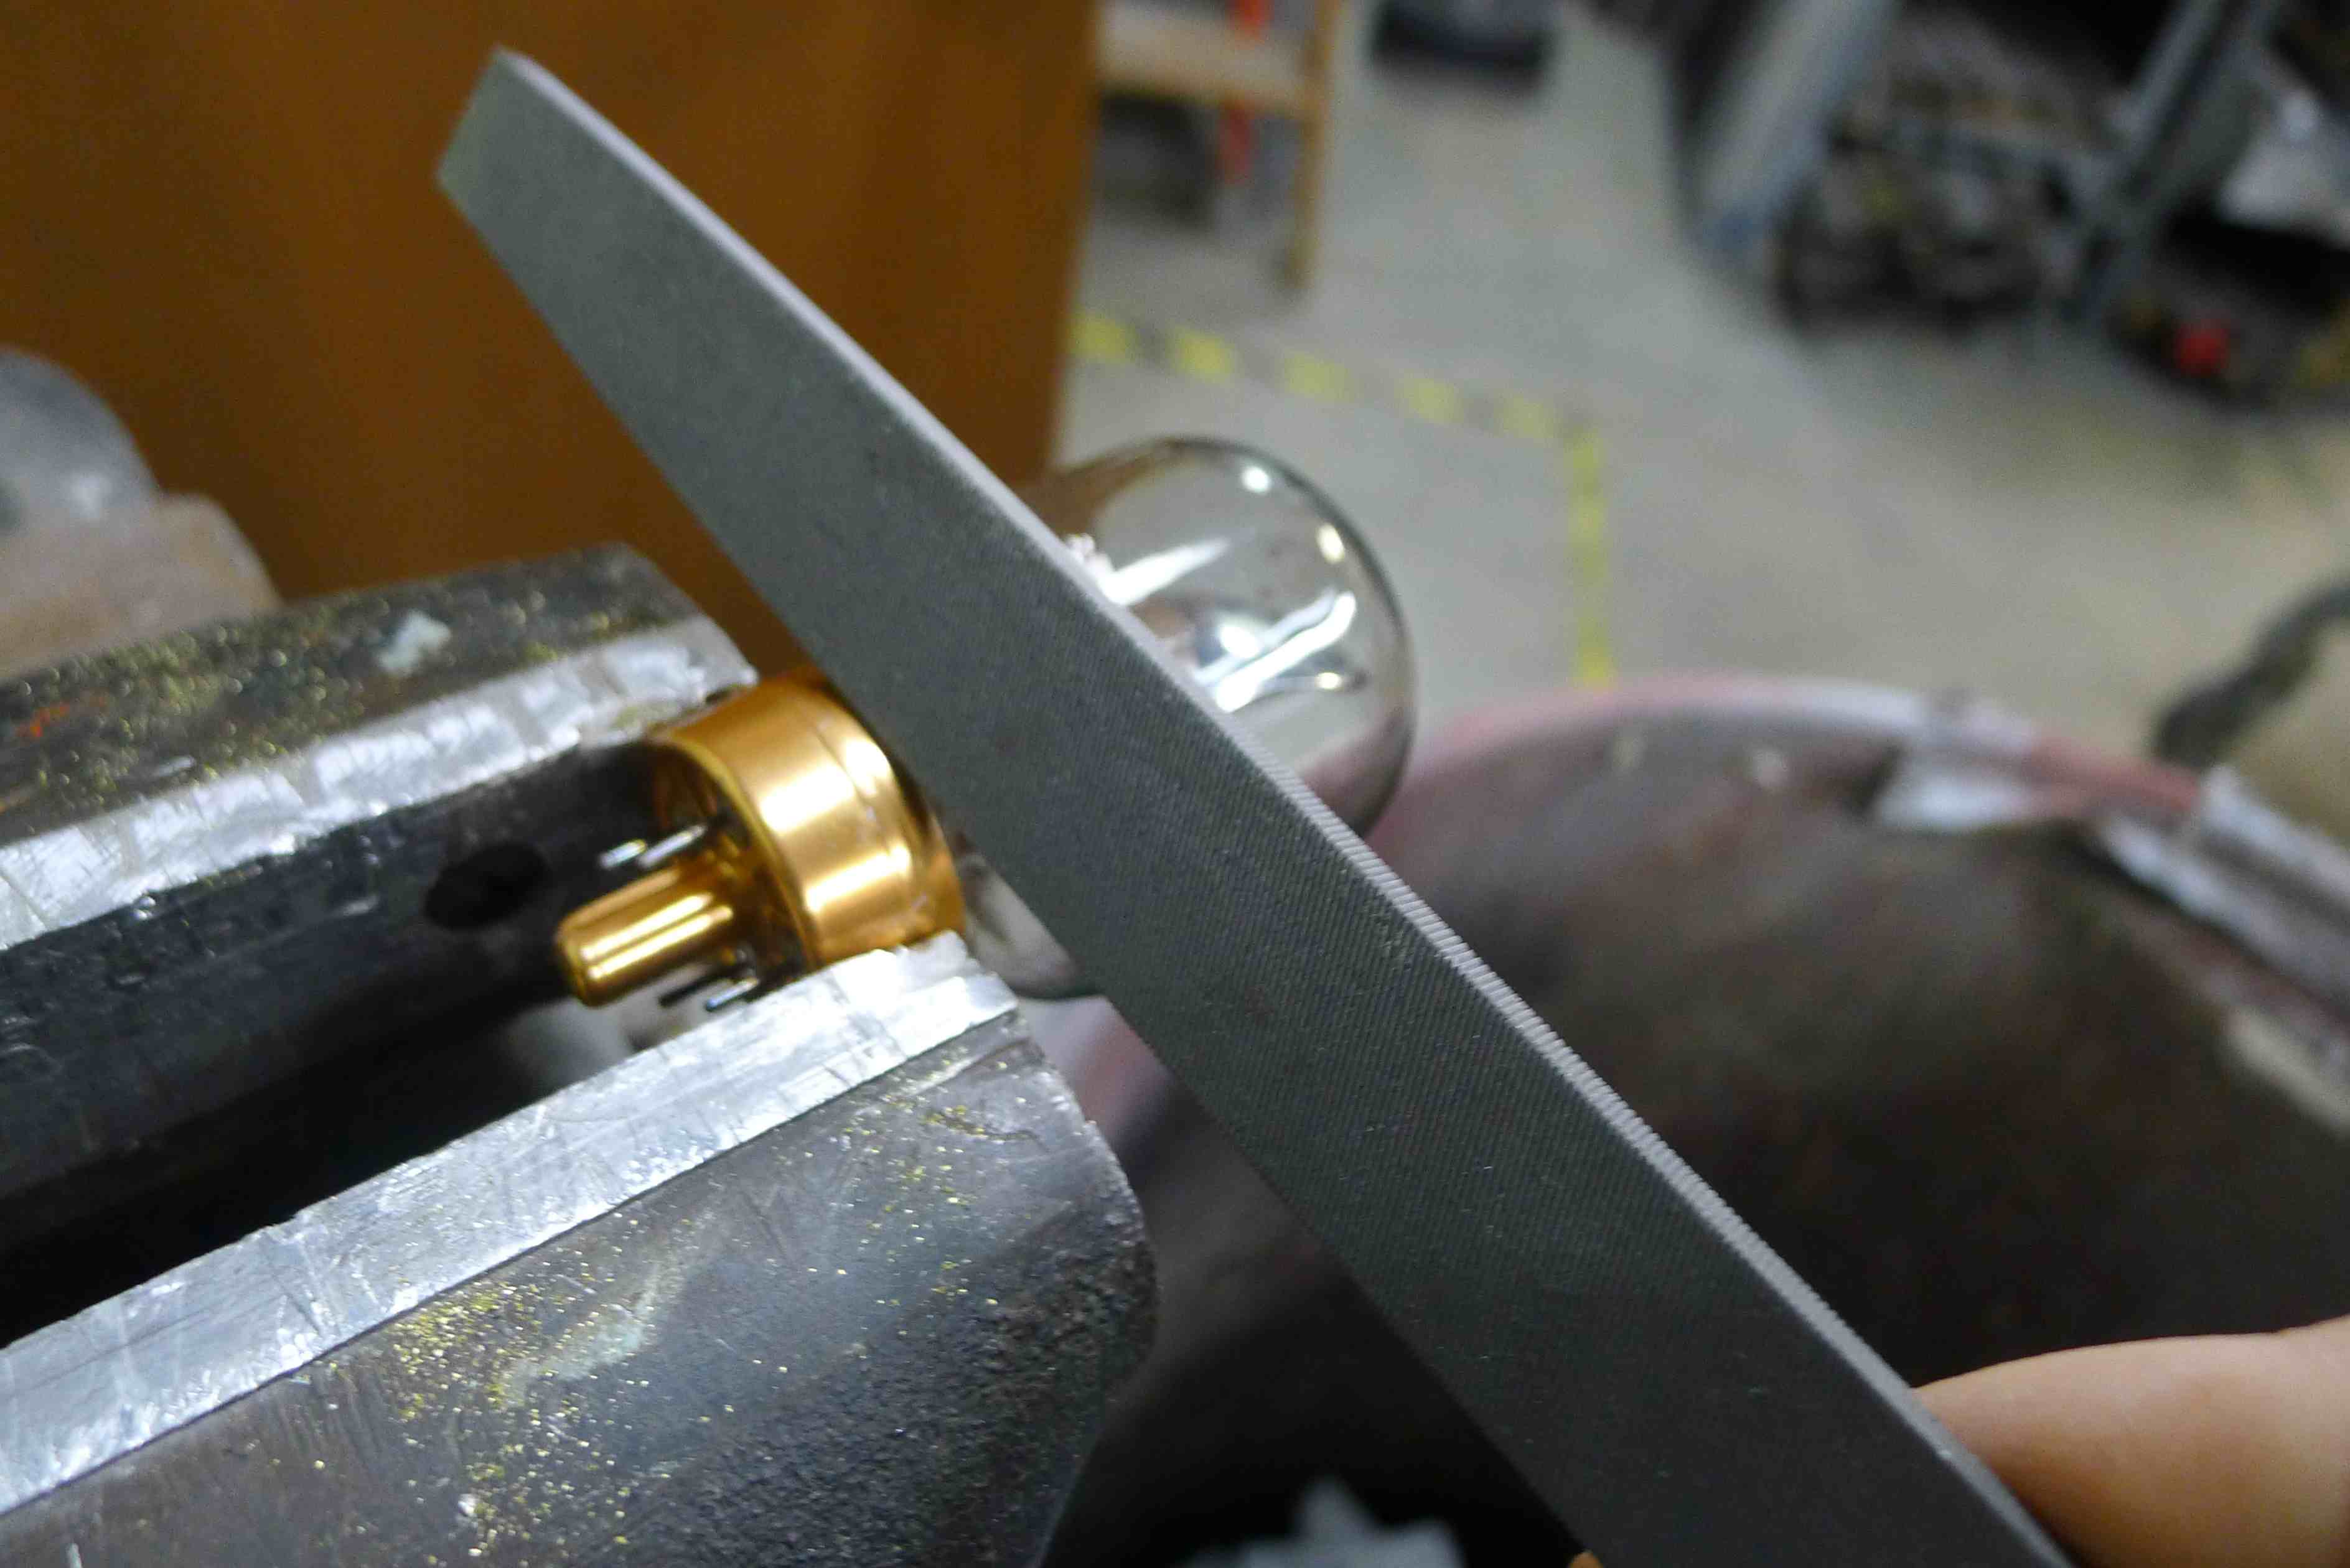
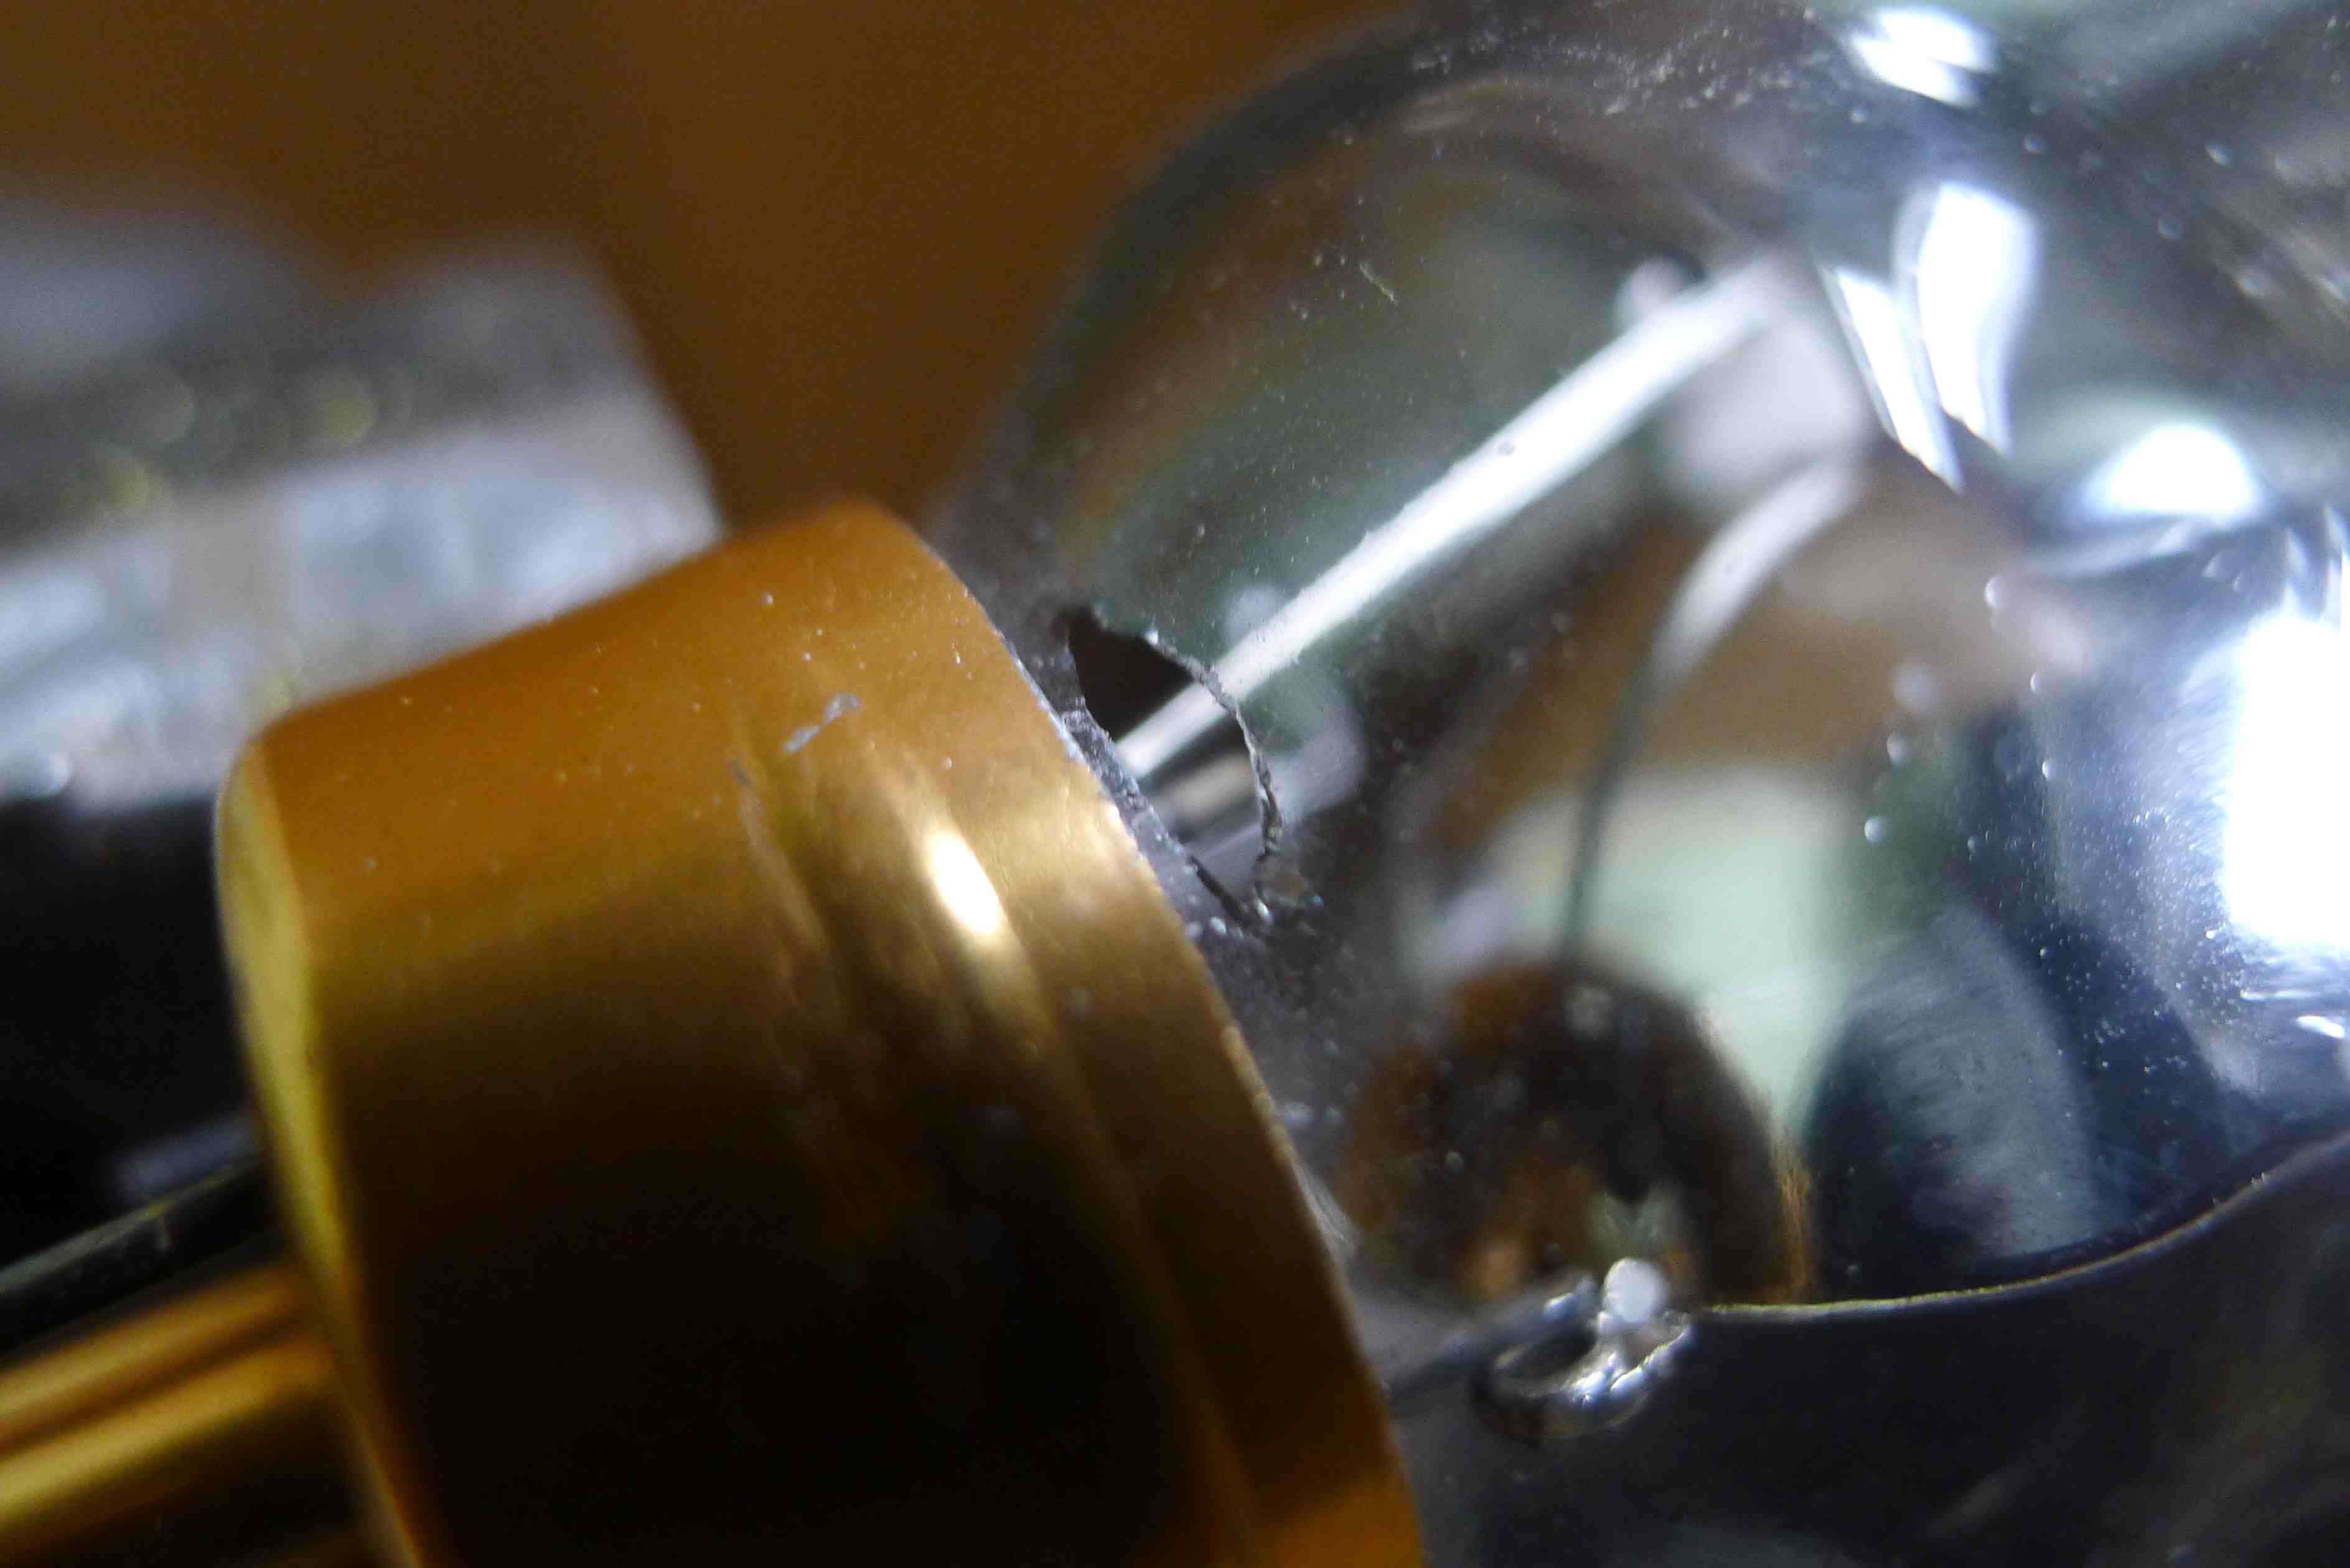
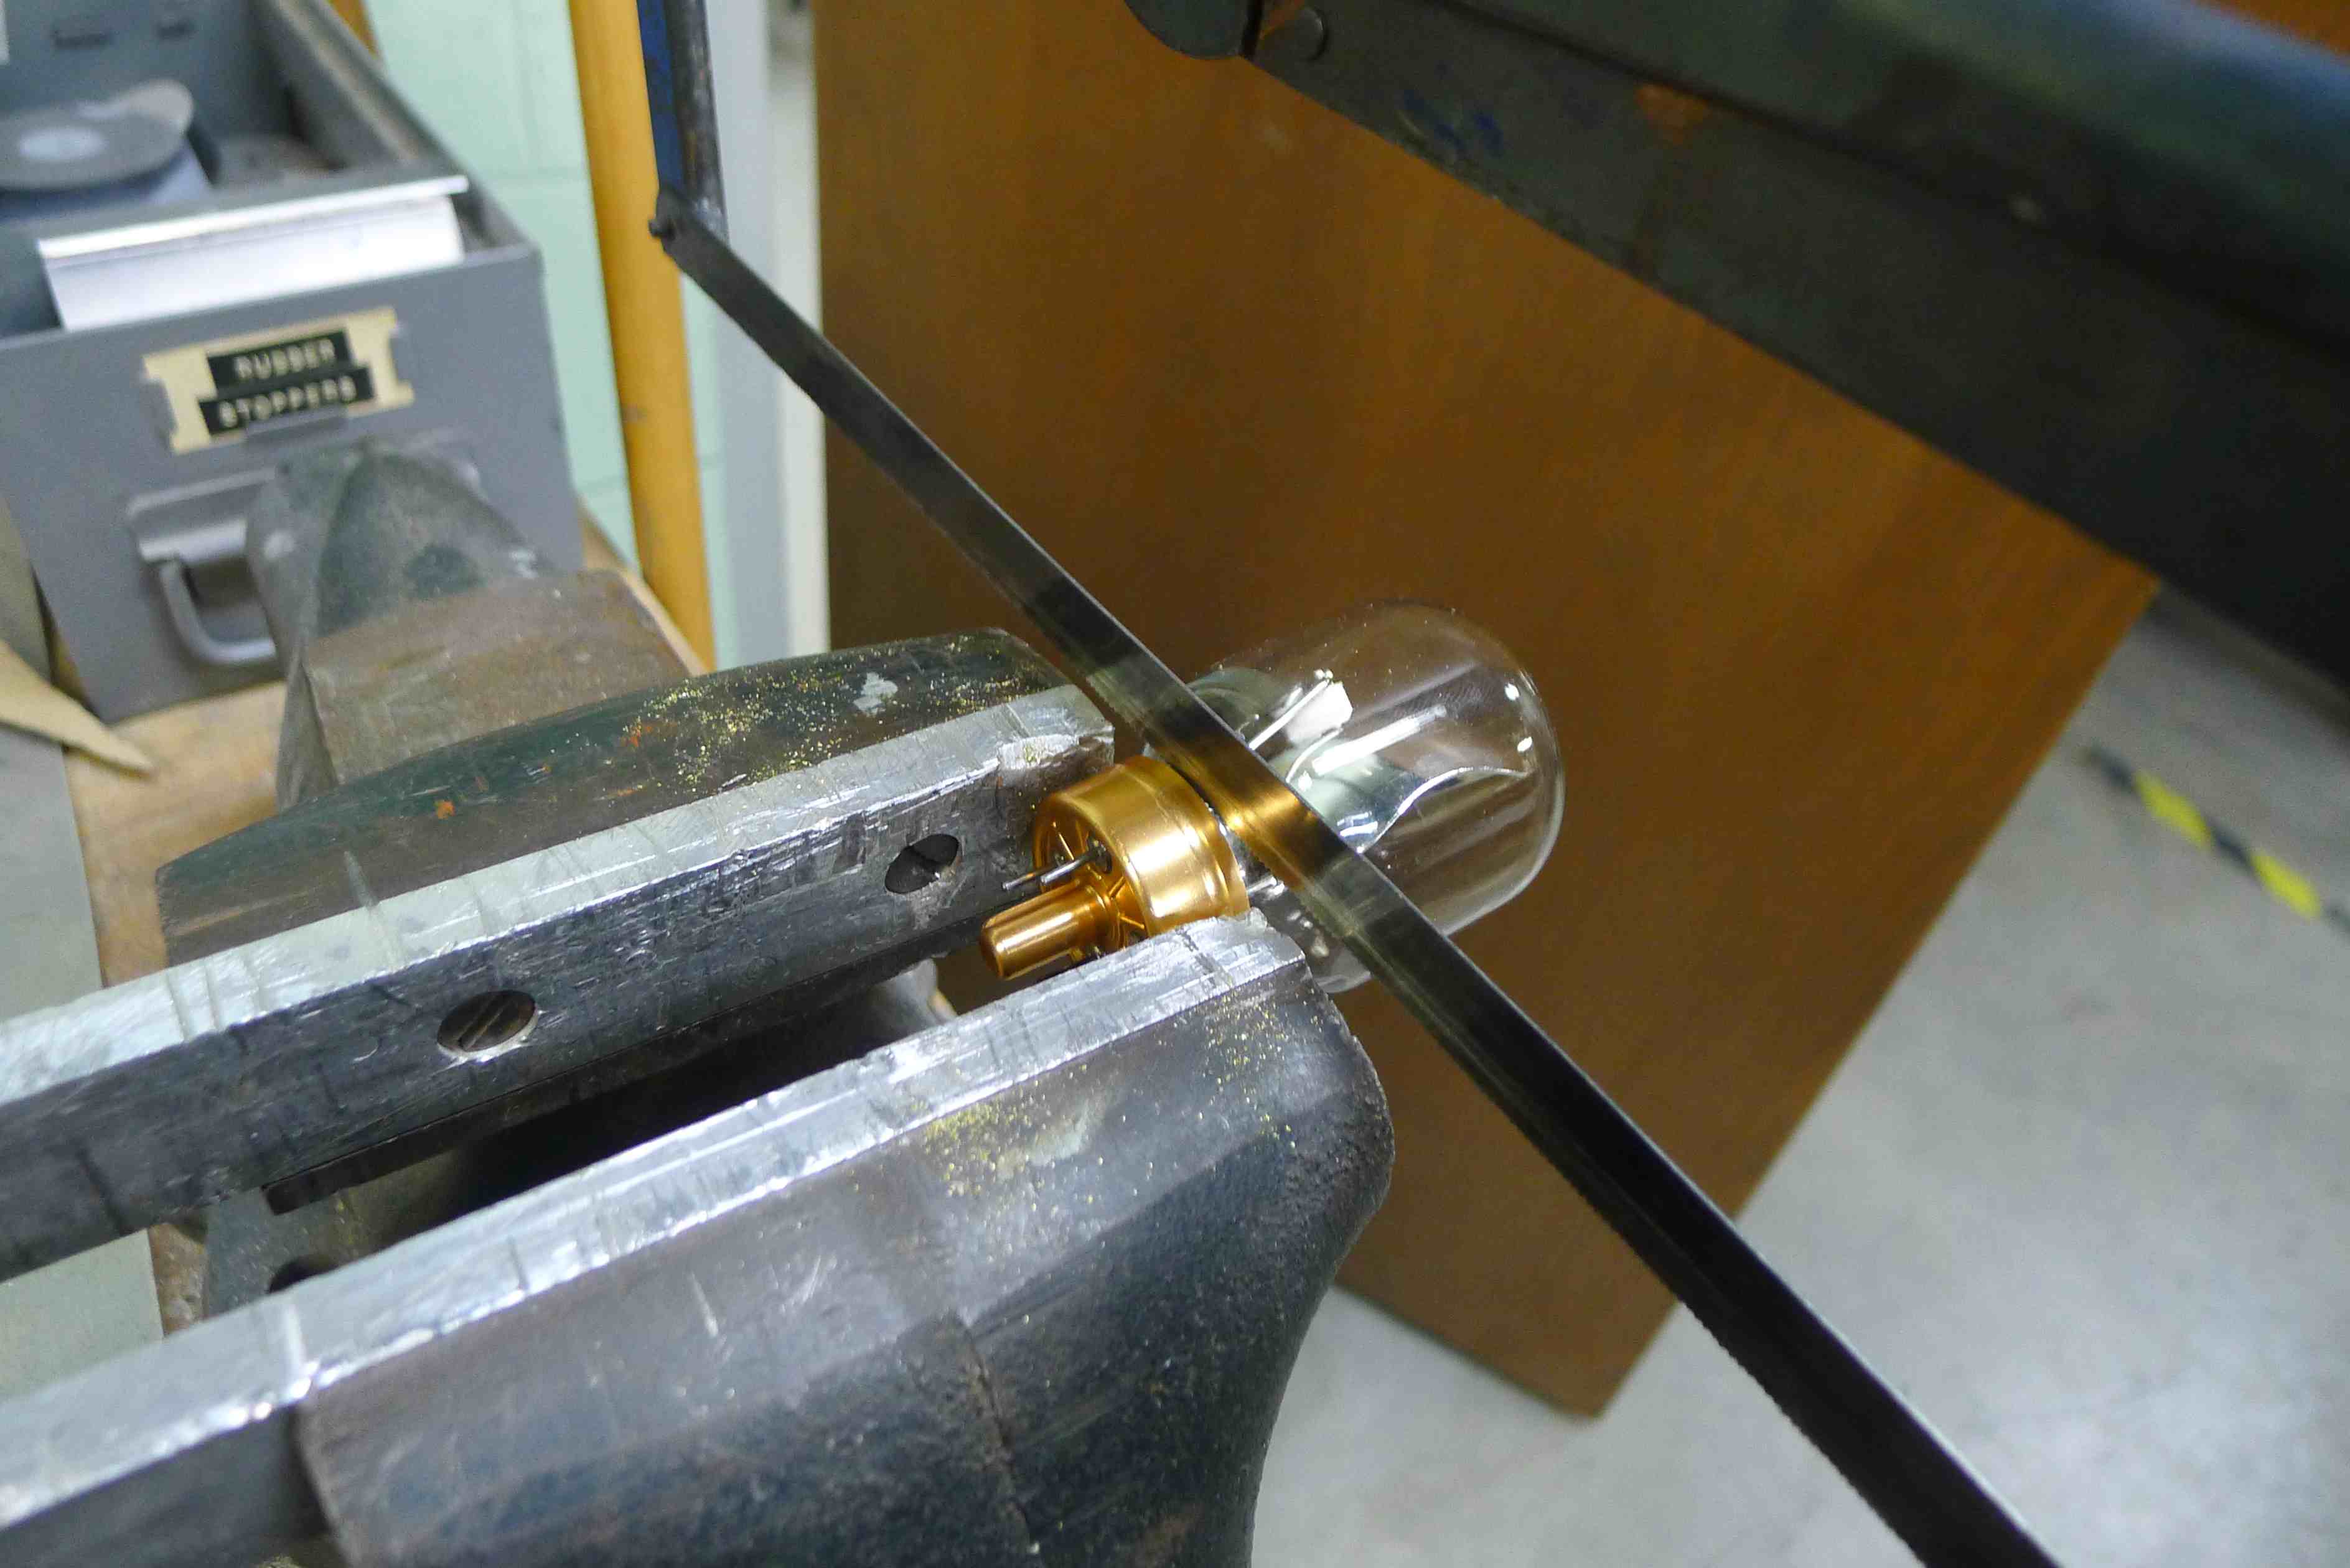
We’ll use the copper base of the old bulb to mount the new fixture so let’s separate it from the rest of the blub. There are various levels of violence you could employ in this step. I chose to be very gentle: first I used a file to score the bulb and break the vaccuum. I thend finished the job with a few quick strokes of a hack saw:
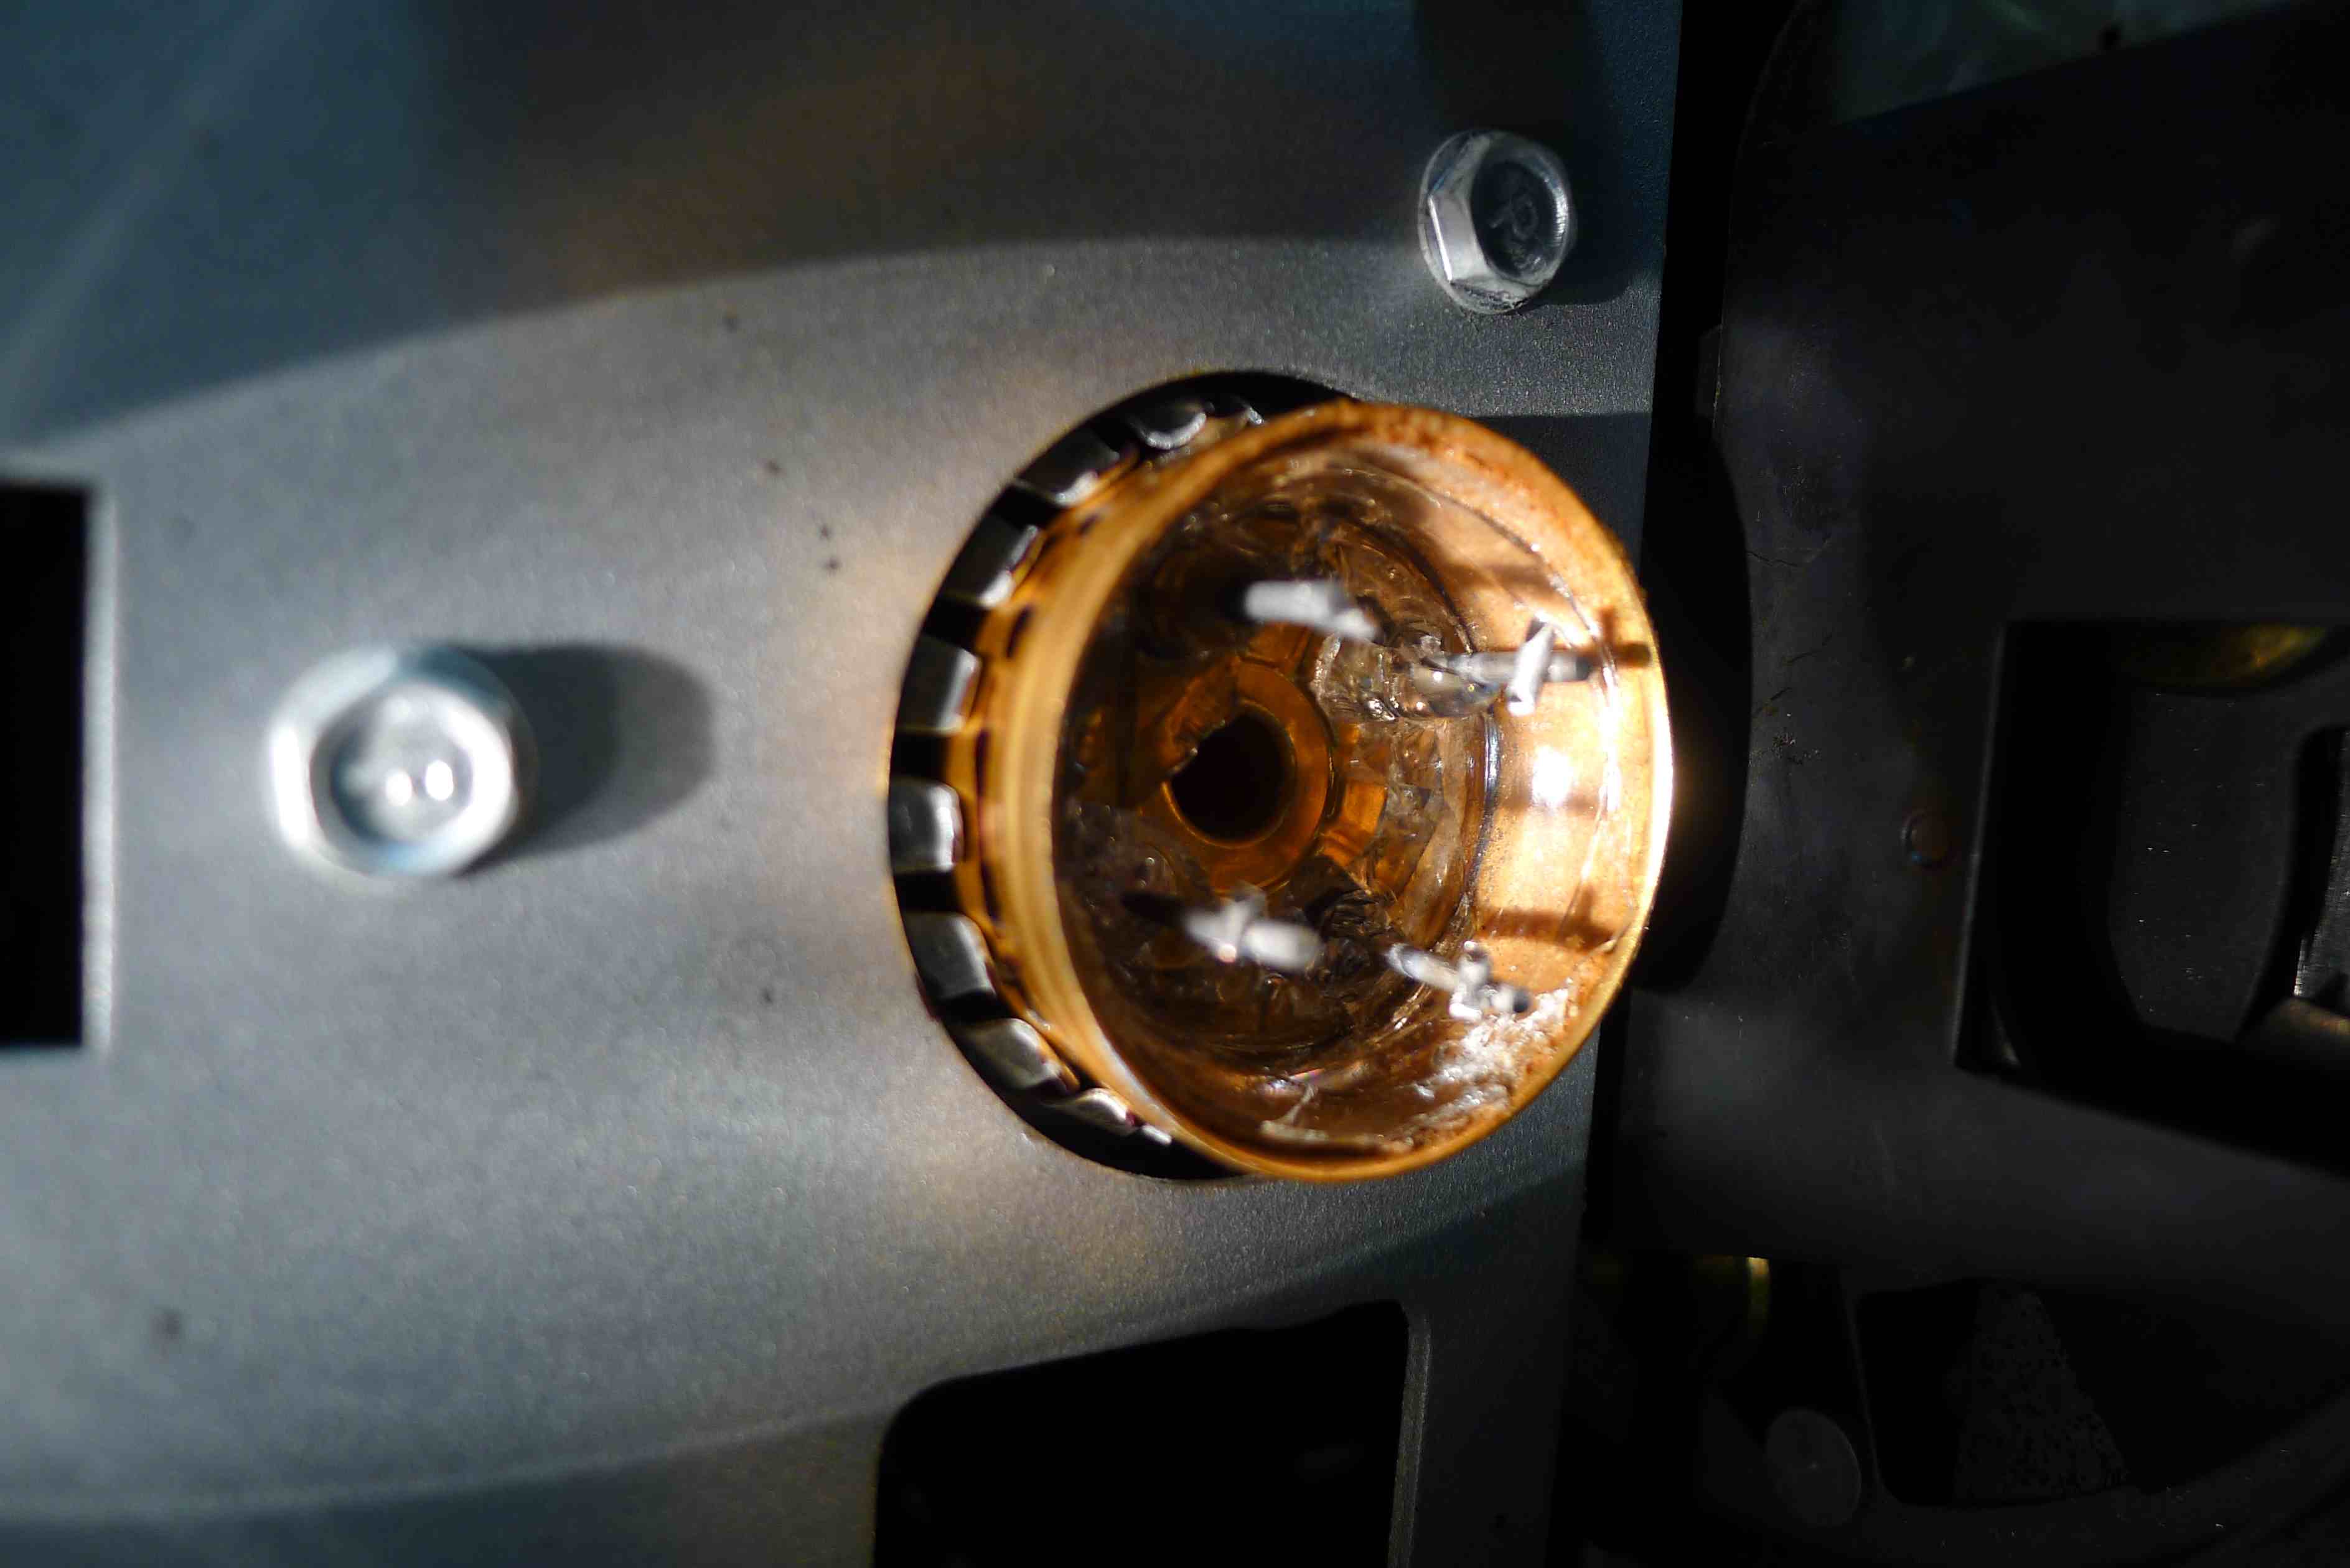
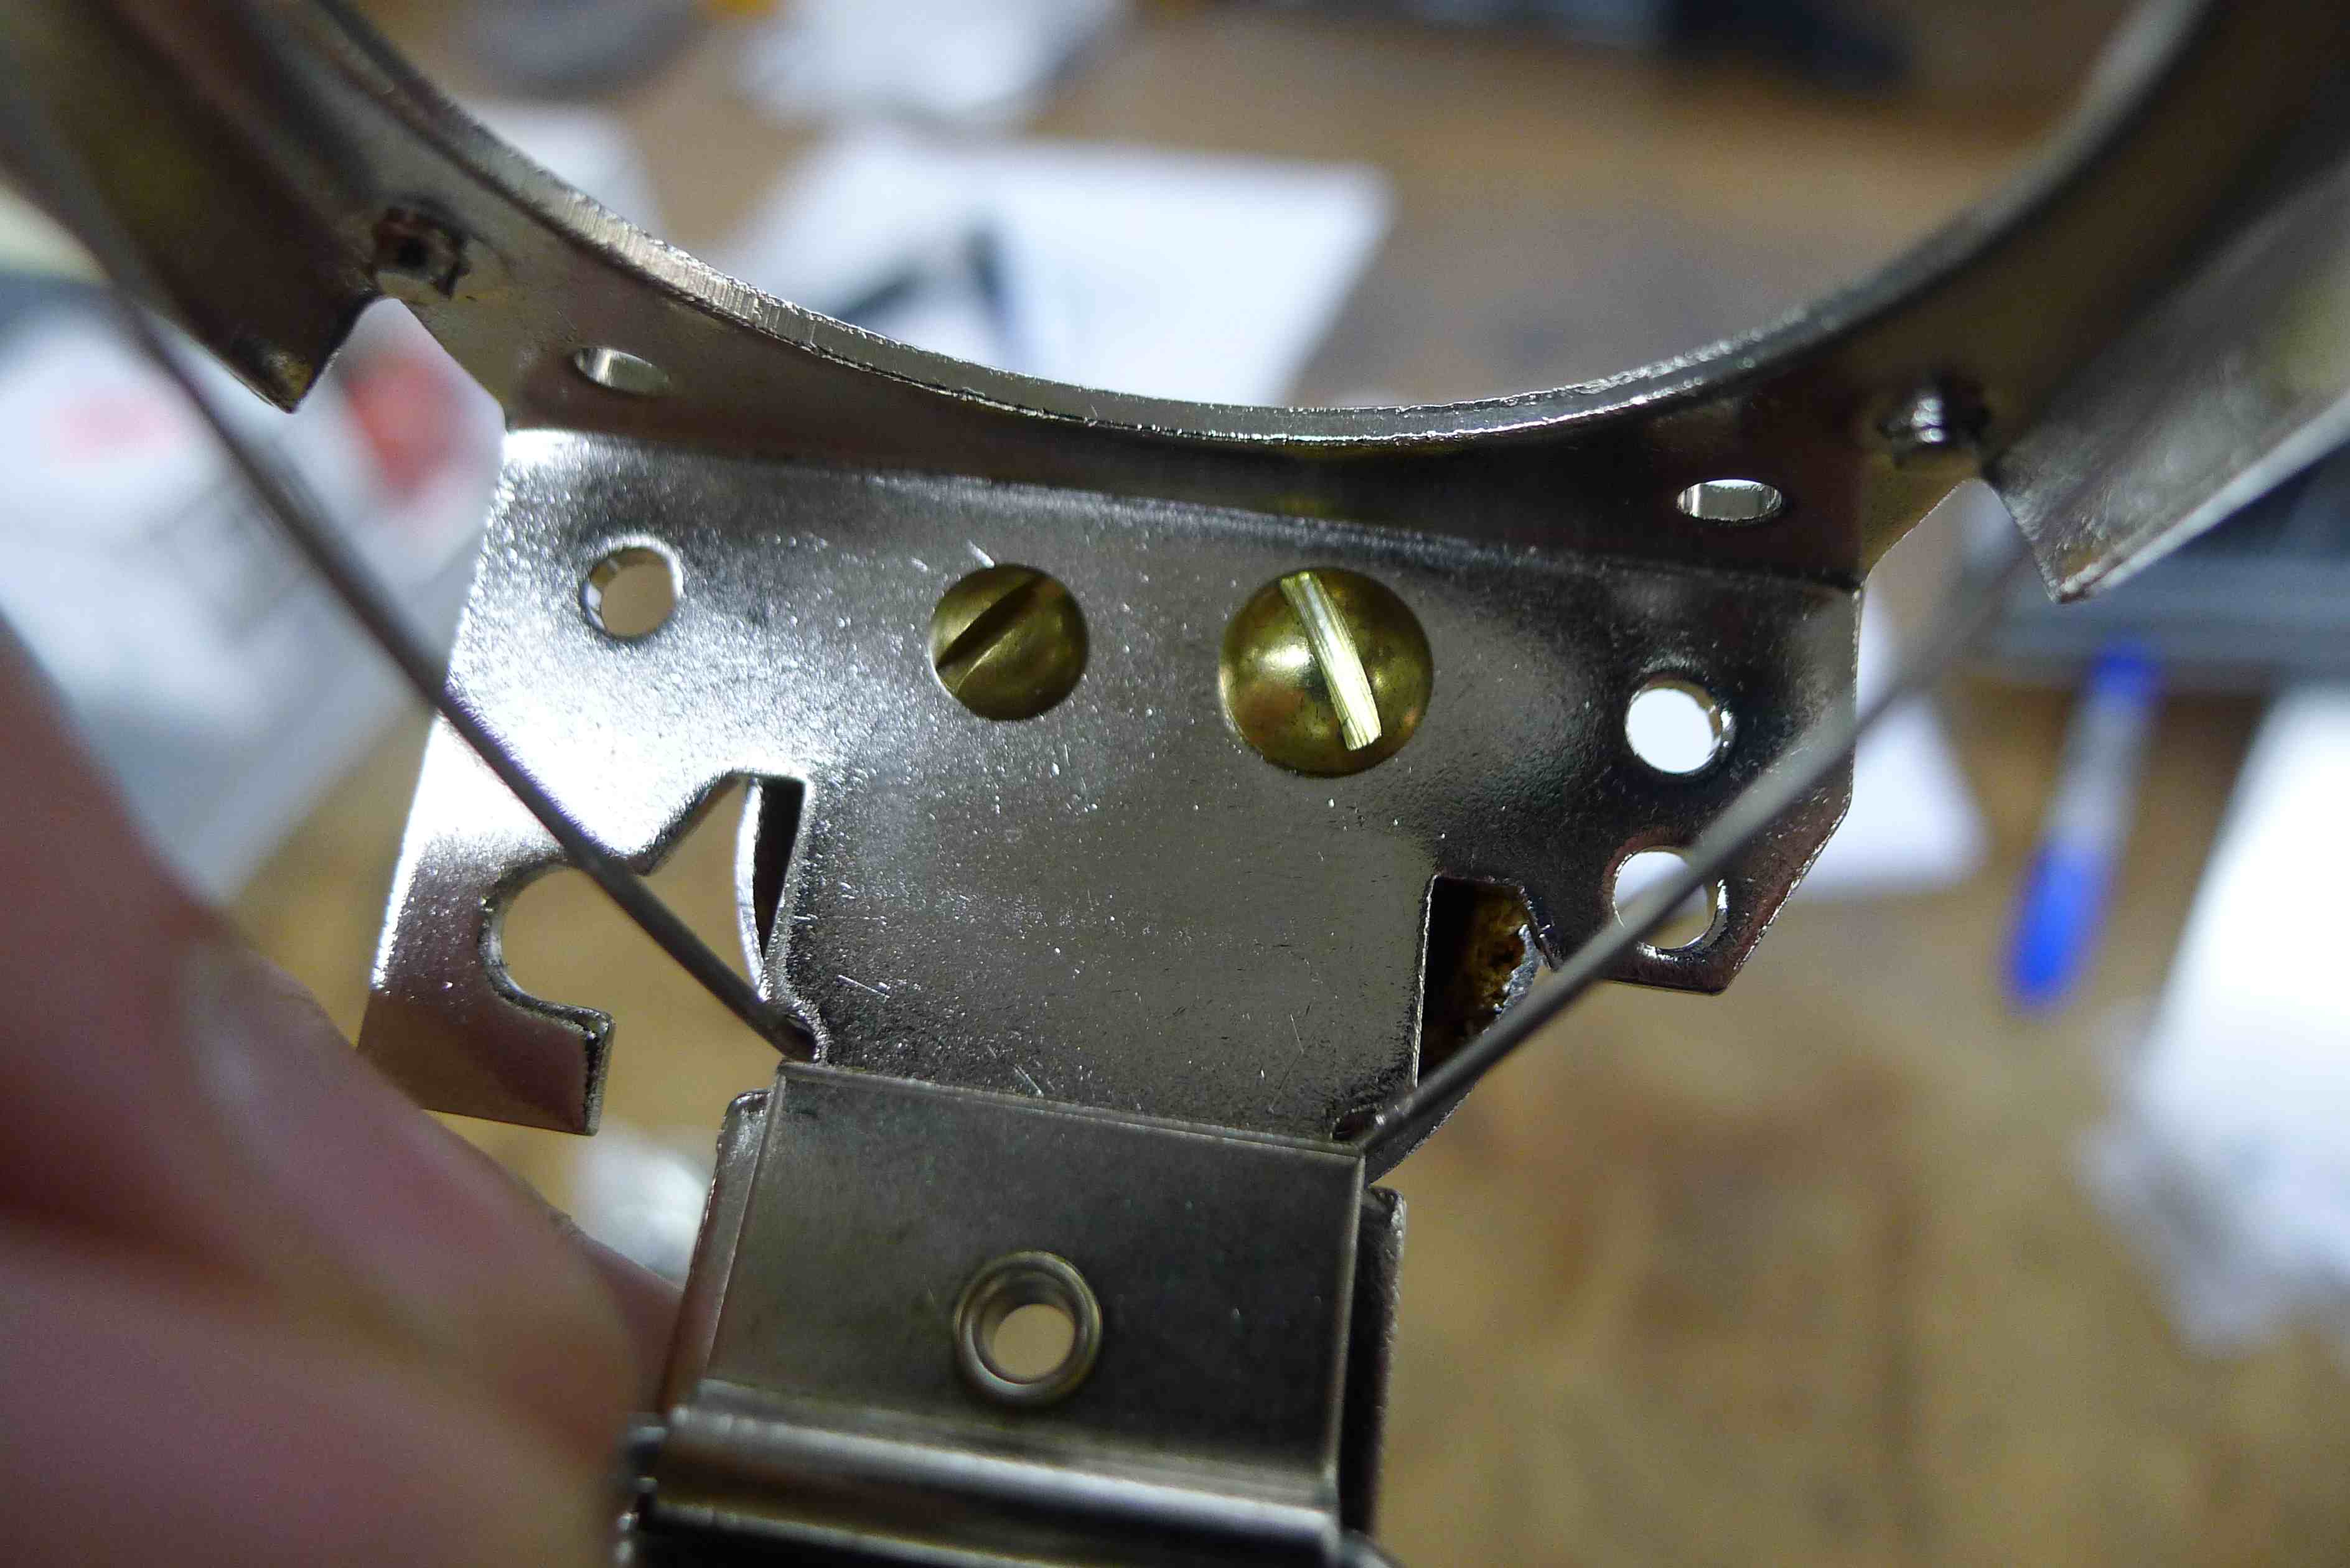
The PLT QVL-1 socket is pretty tall so the copper bulb base needed to be trimmed down the the absolute minimum height. The images below show the base before and after trimming. Notice that the trimmed base sits flush with the projector body, thus allowing maximum room for the new bulb holder. During this process all of the remaining glass and wiring we shaken and broken loose from the copper base. This is a good thing because we’ll need to thread the new wires through those holes.
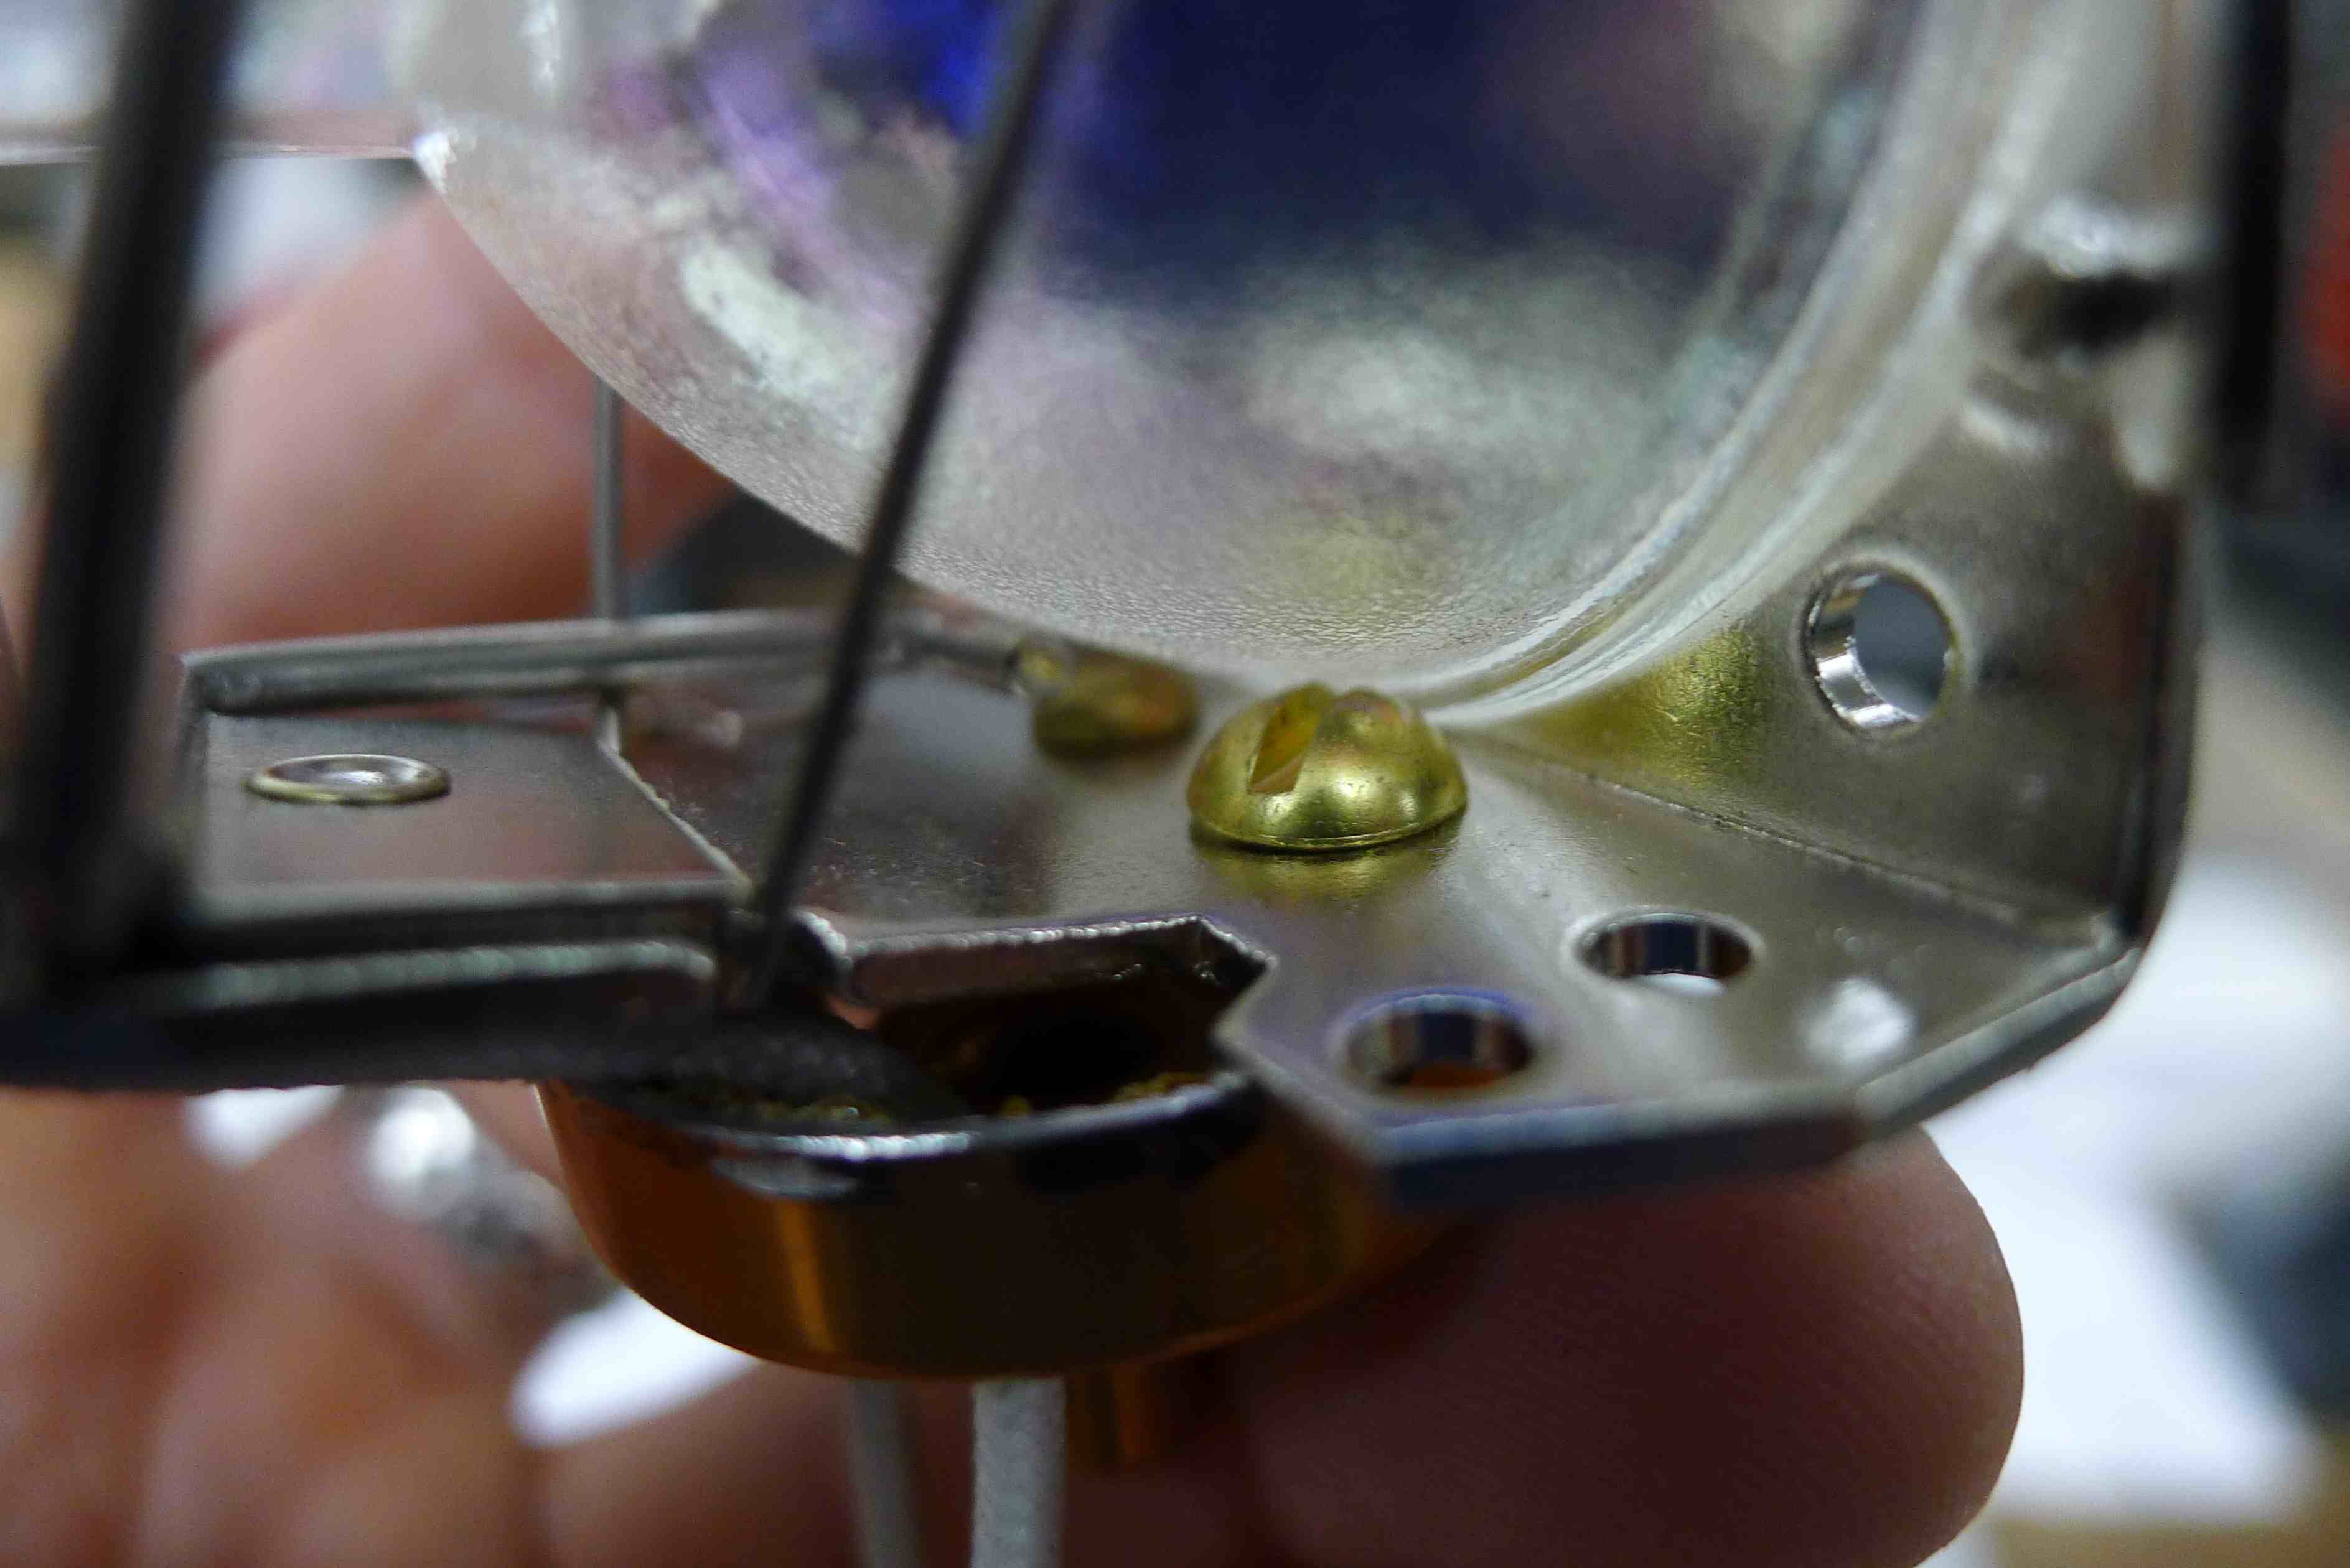
Now mount the PLT QVL-1 socket to the trimmed base. The holes in the socket accept 5-32 and 8-32 size screws. Before adding the screws make sure the thread the wire leads through the two back holes. Make sure to get the alignment right; the central post of the copper base as an alignment cam that is important to keep track of.
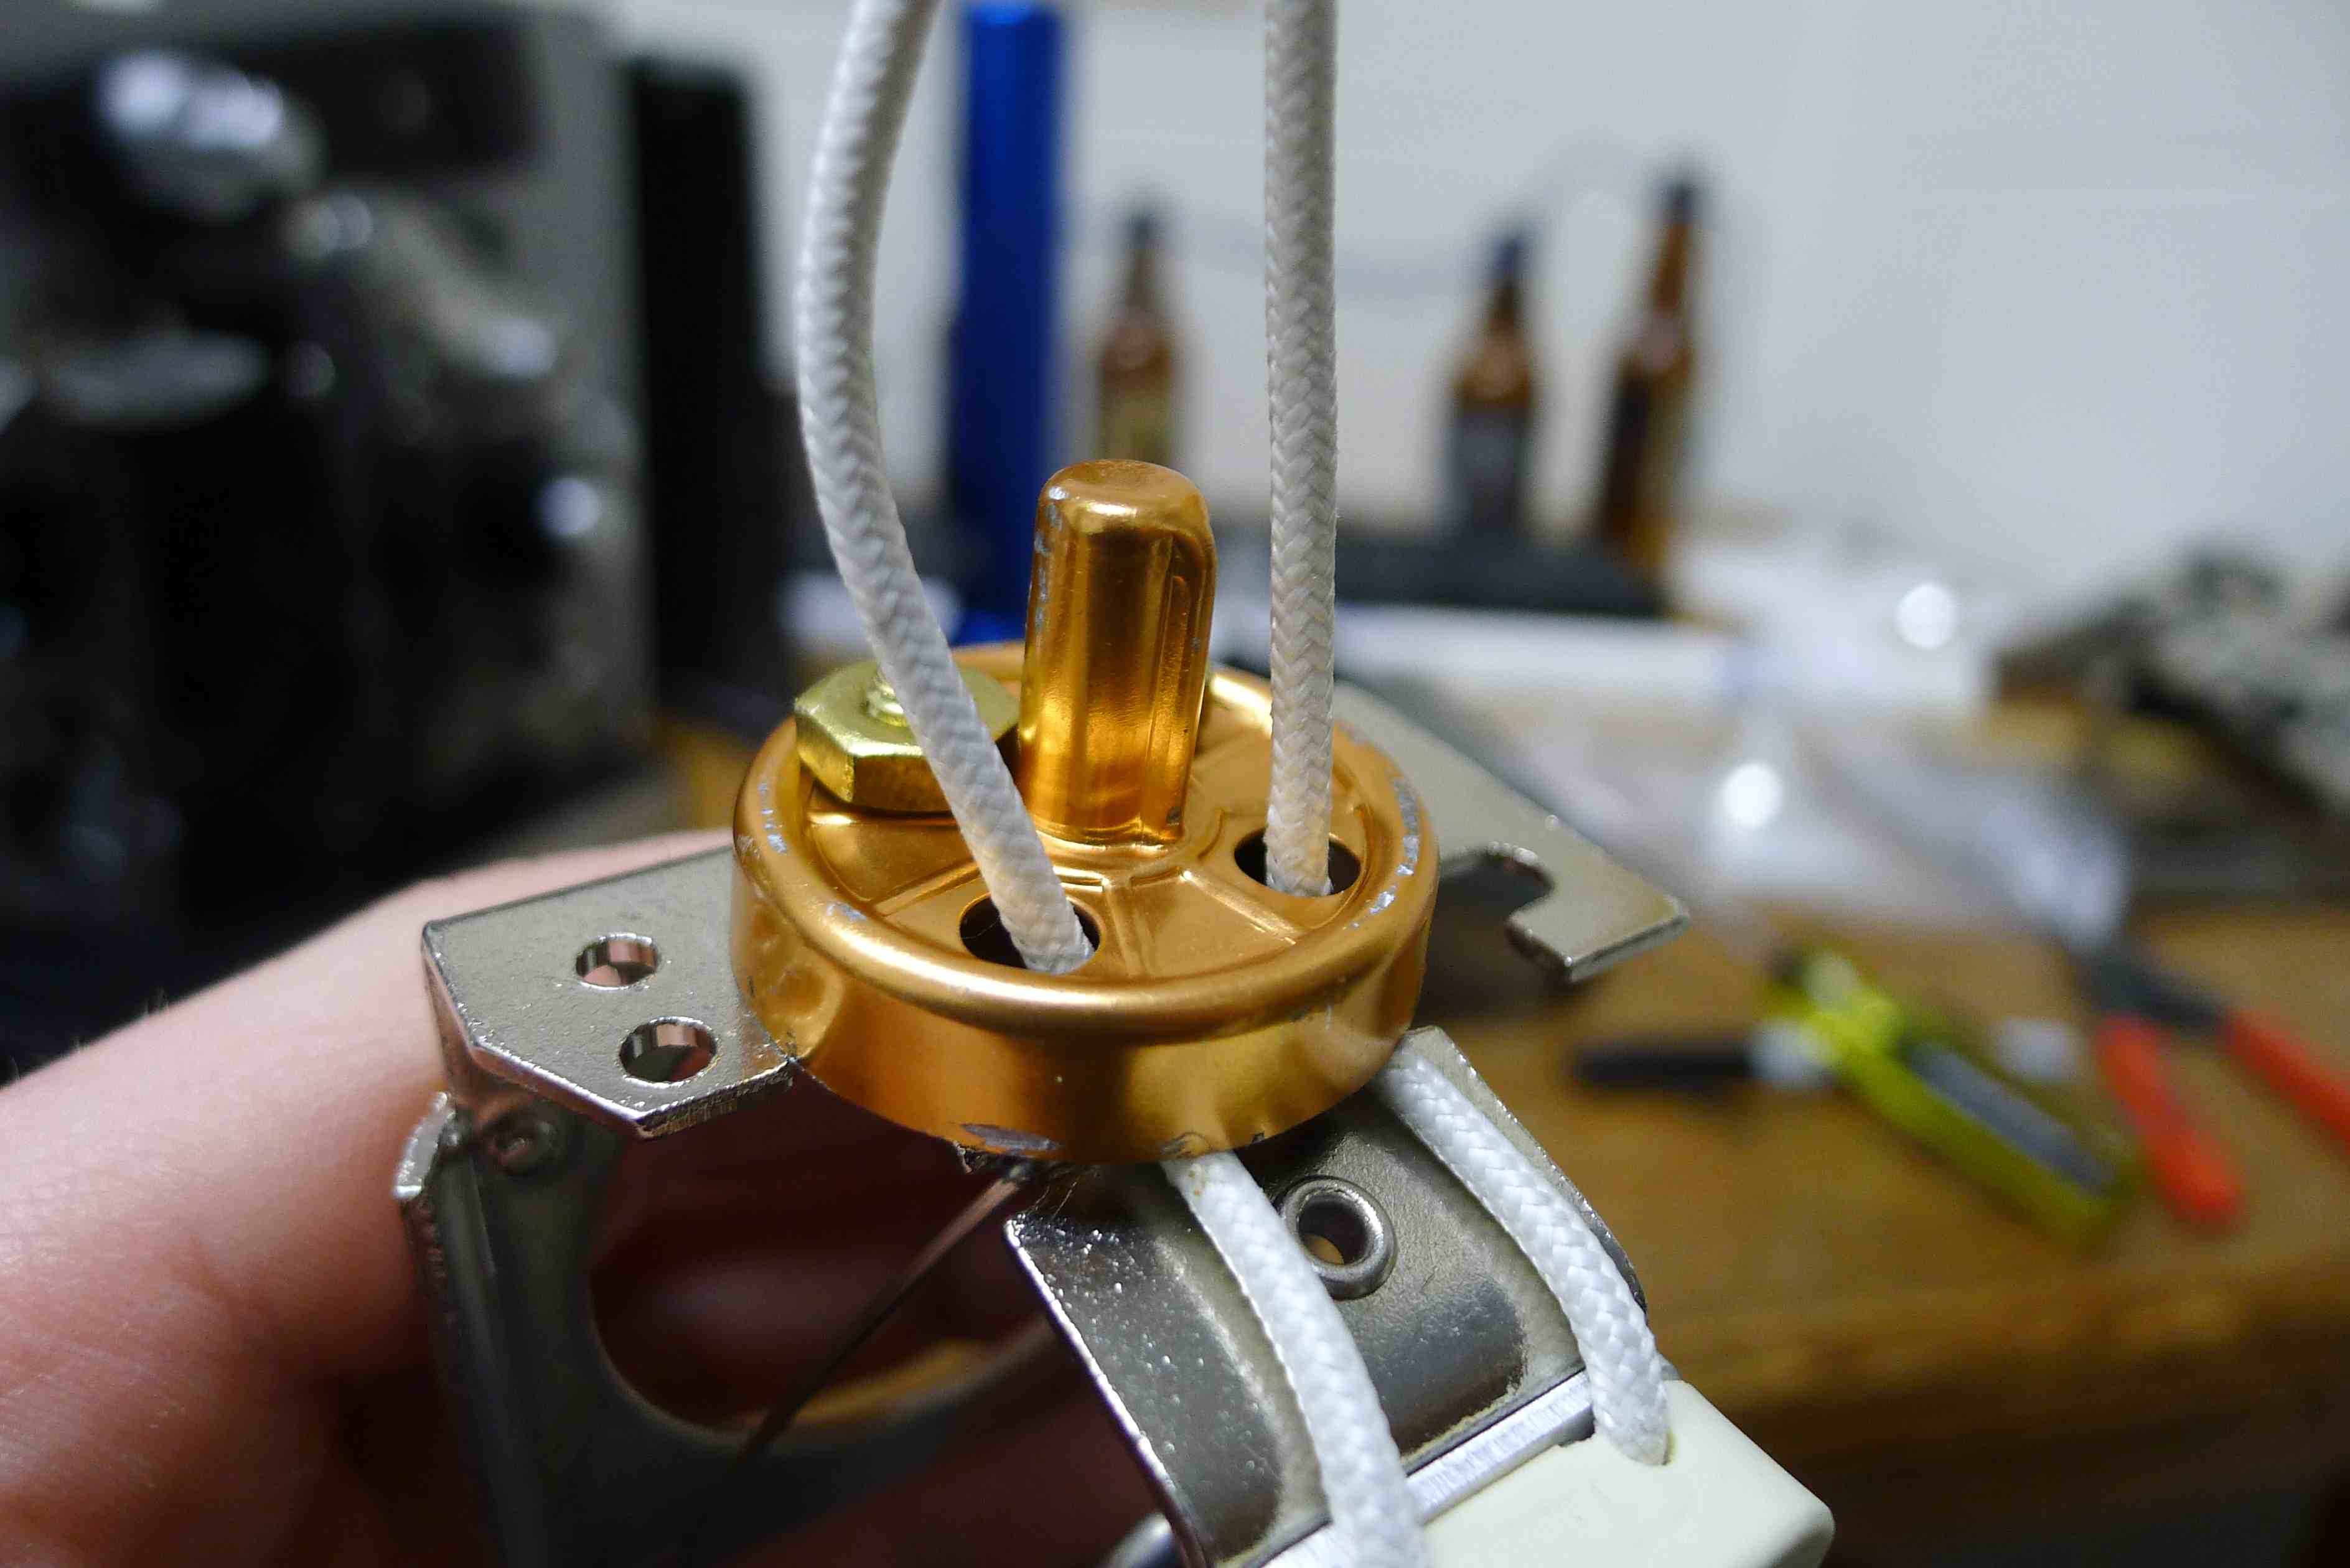
With the MR16D bulb installed the entire assembly should look like this. Notice that I used button-head screws because the clearance between the actual bulb and the socket is pretty tight:
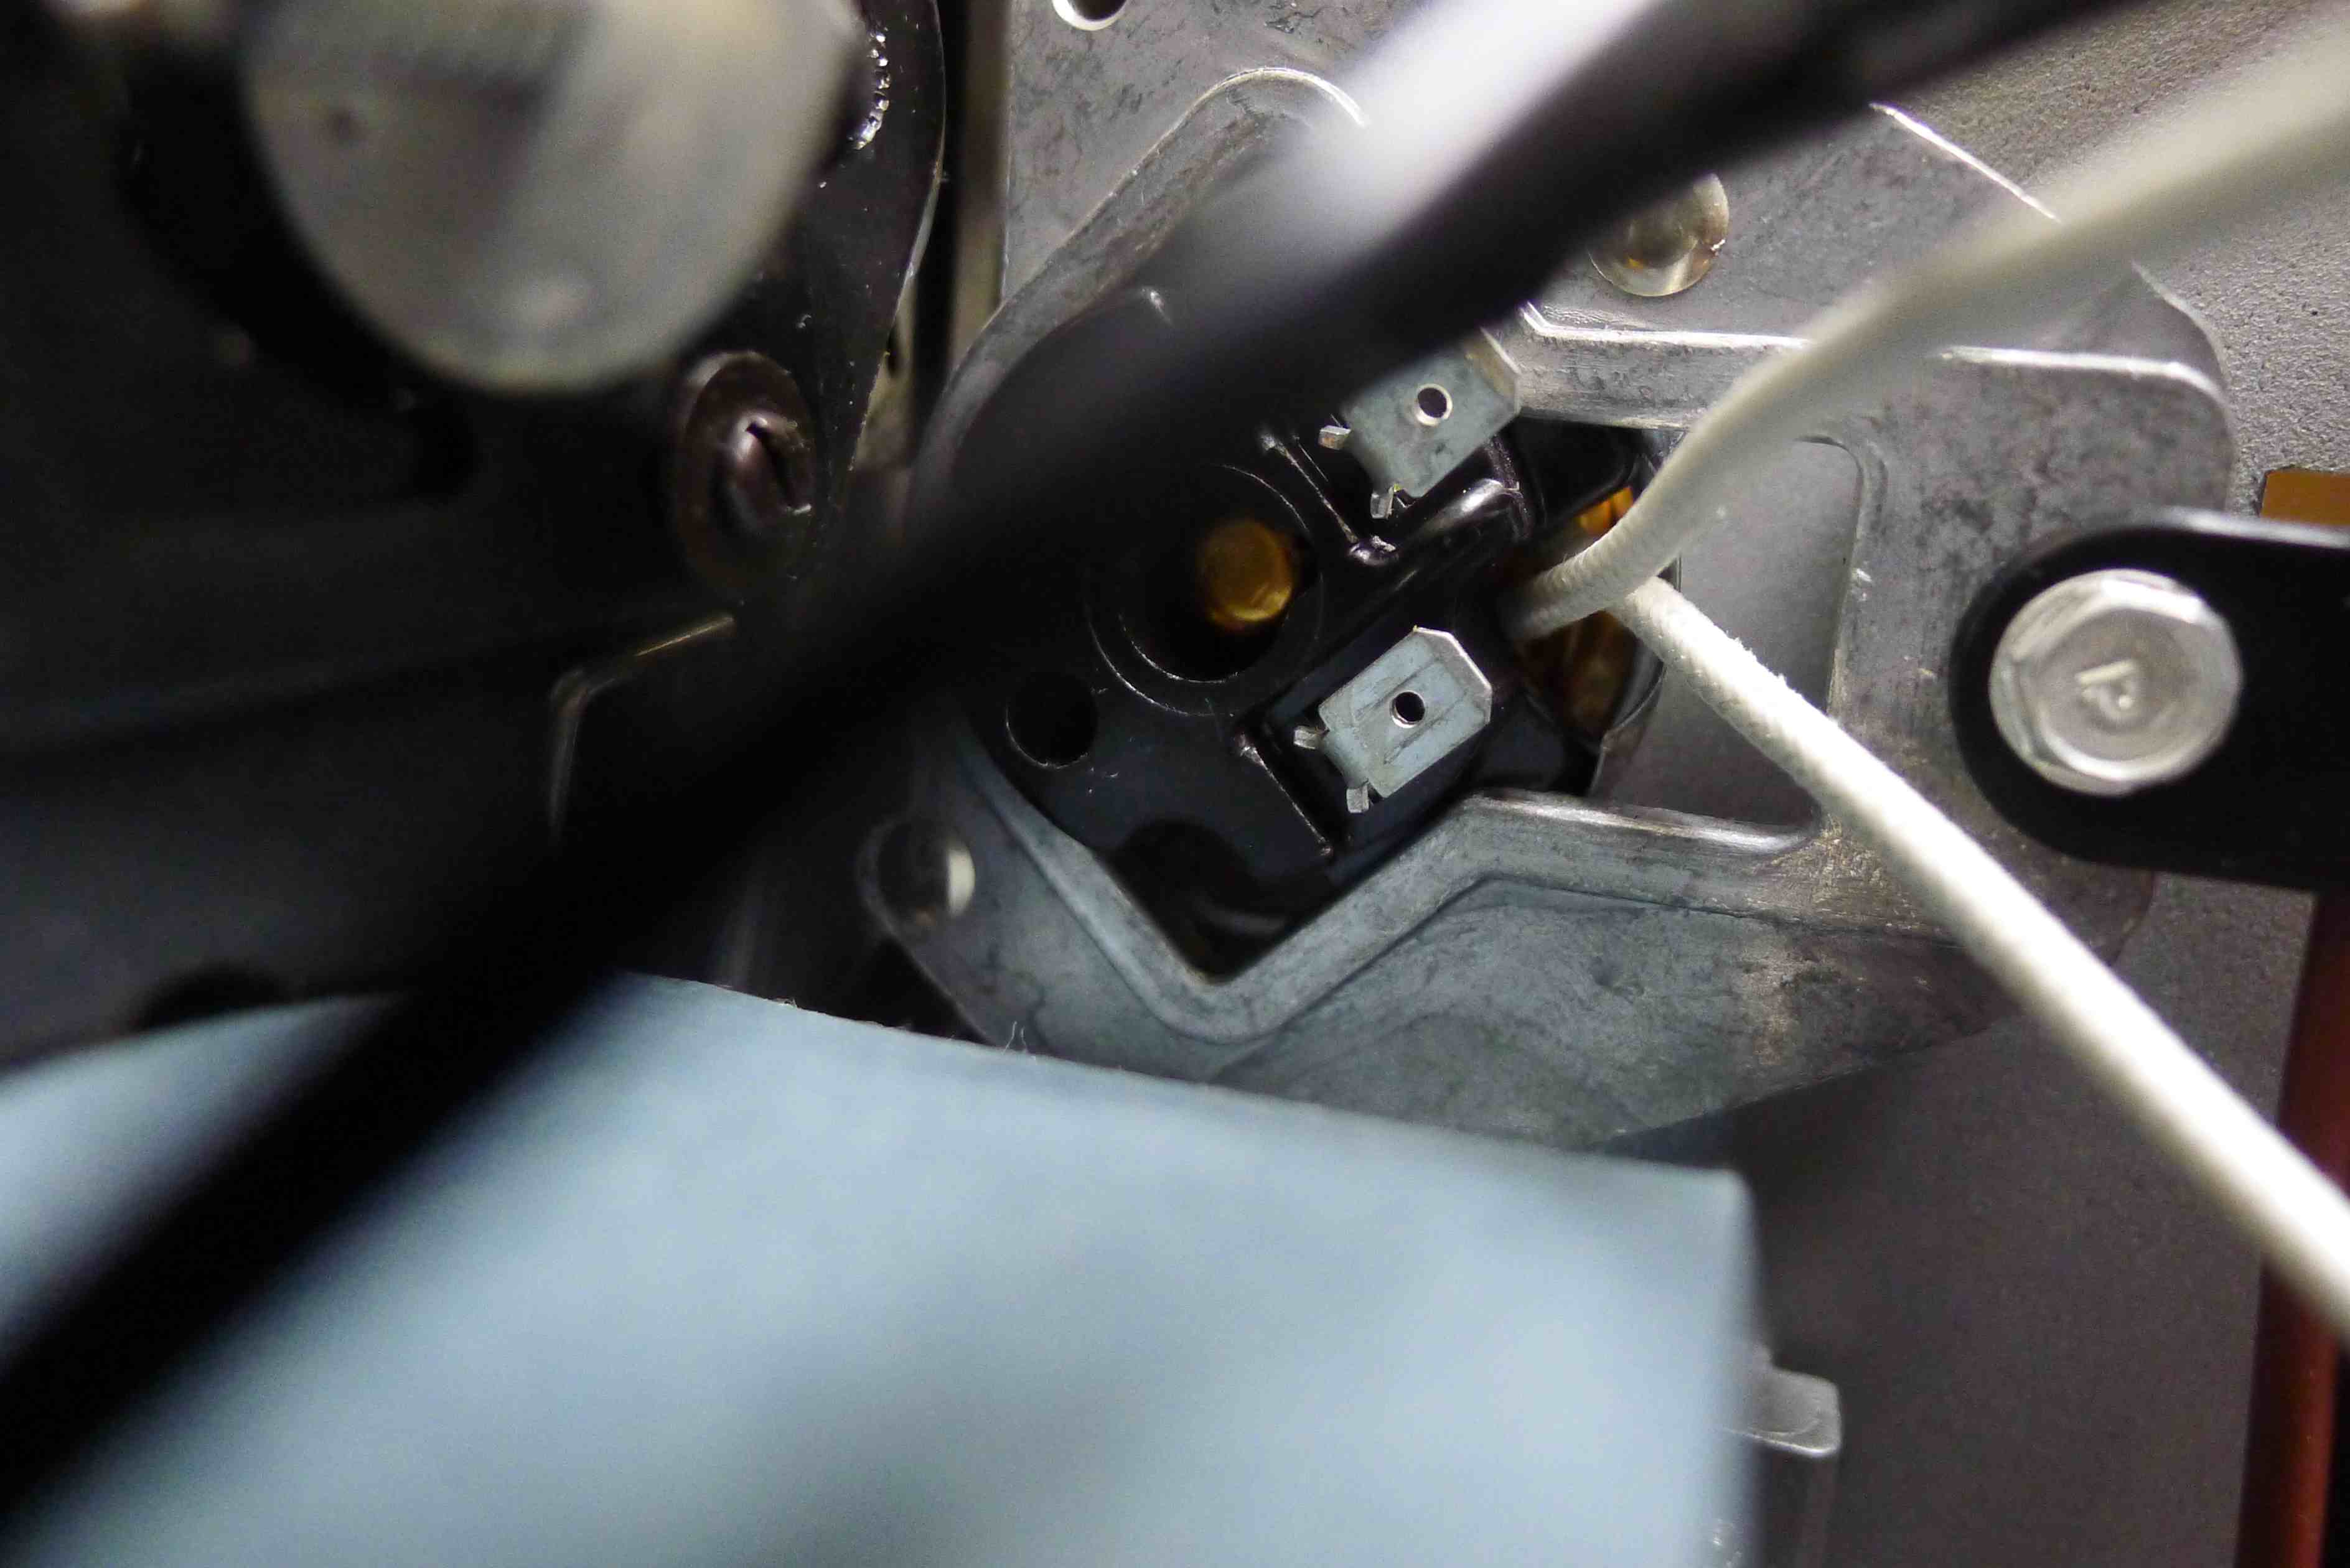
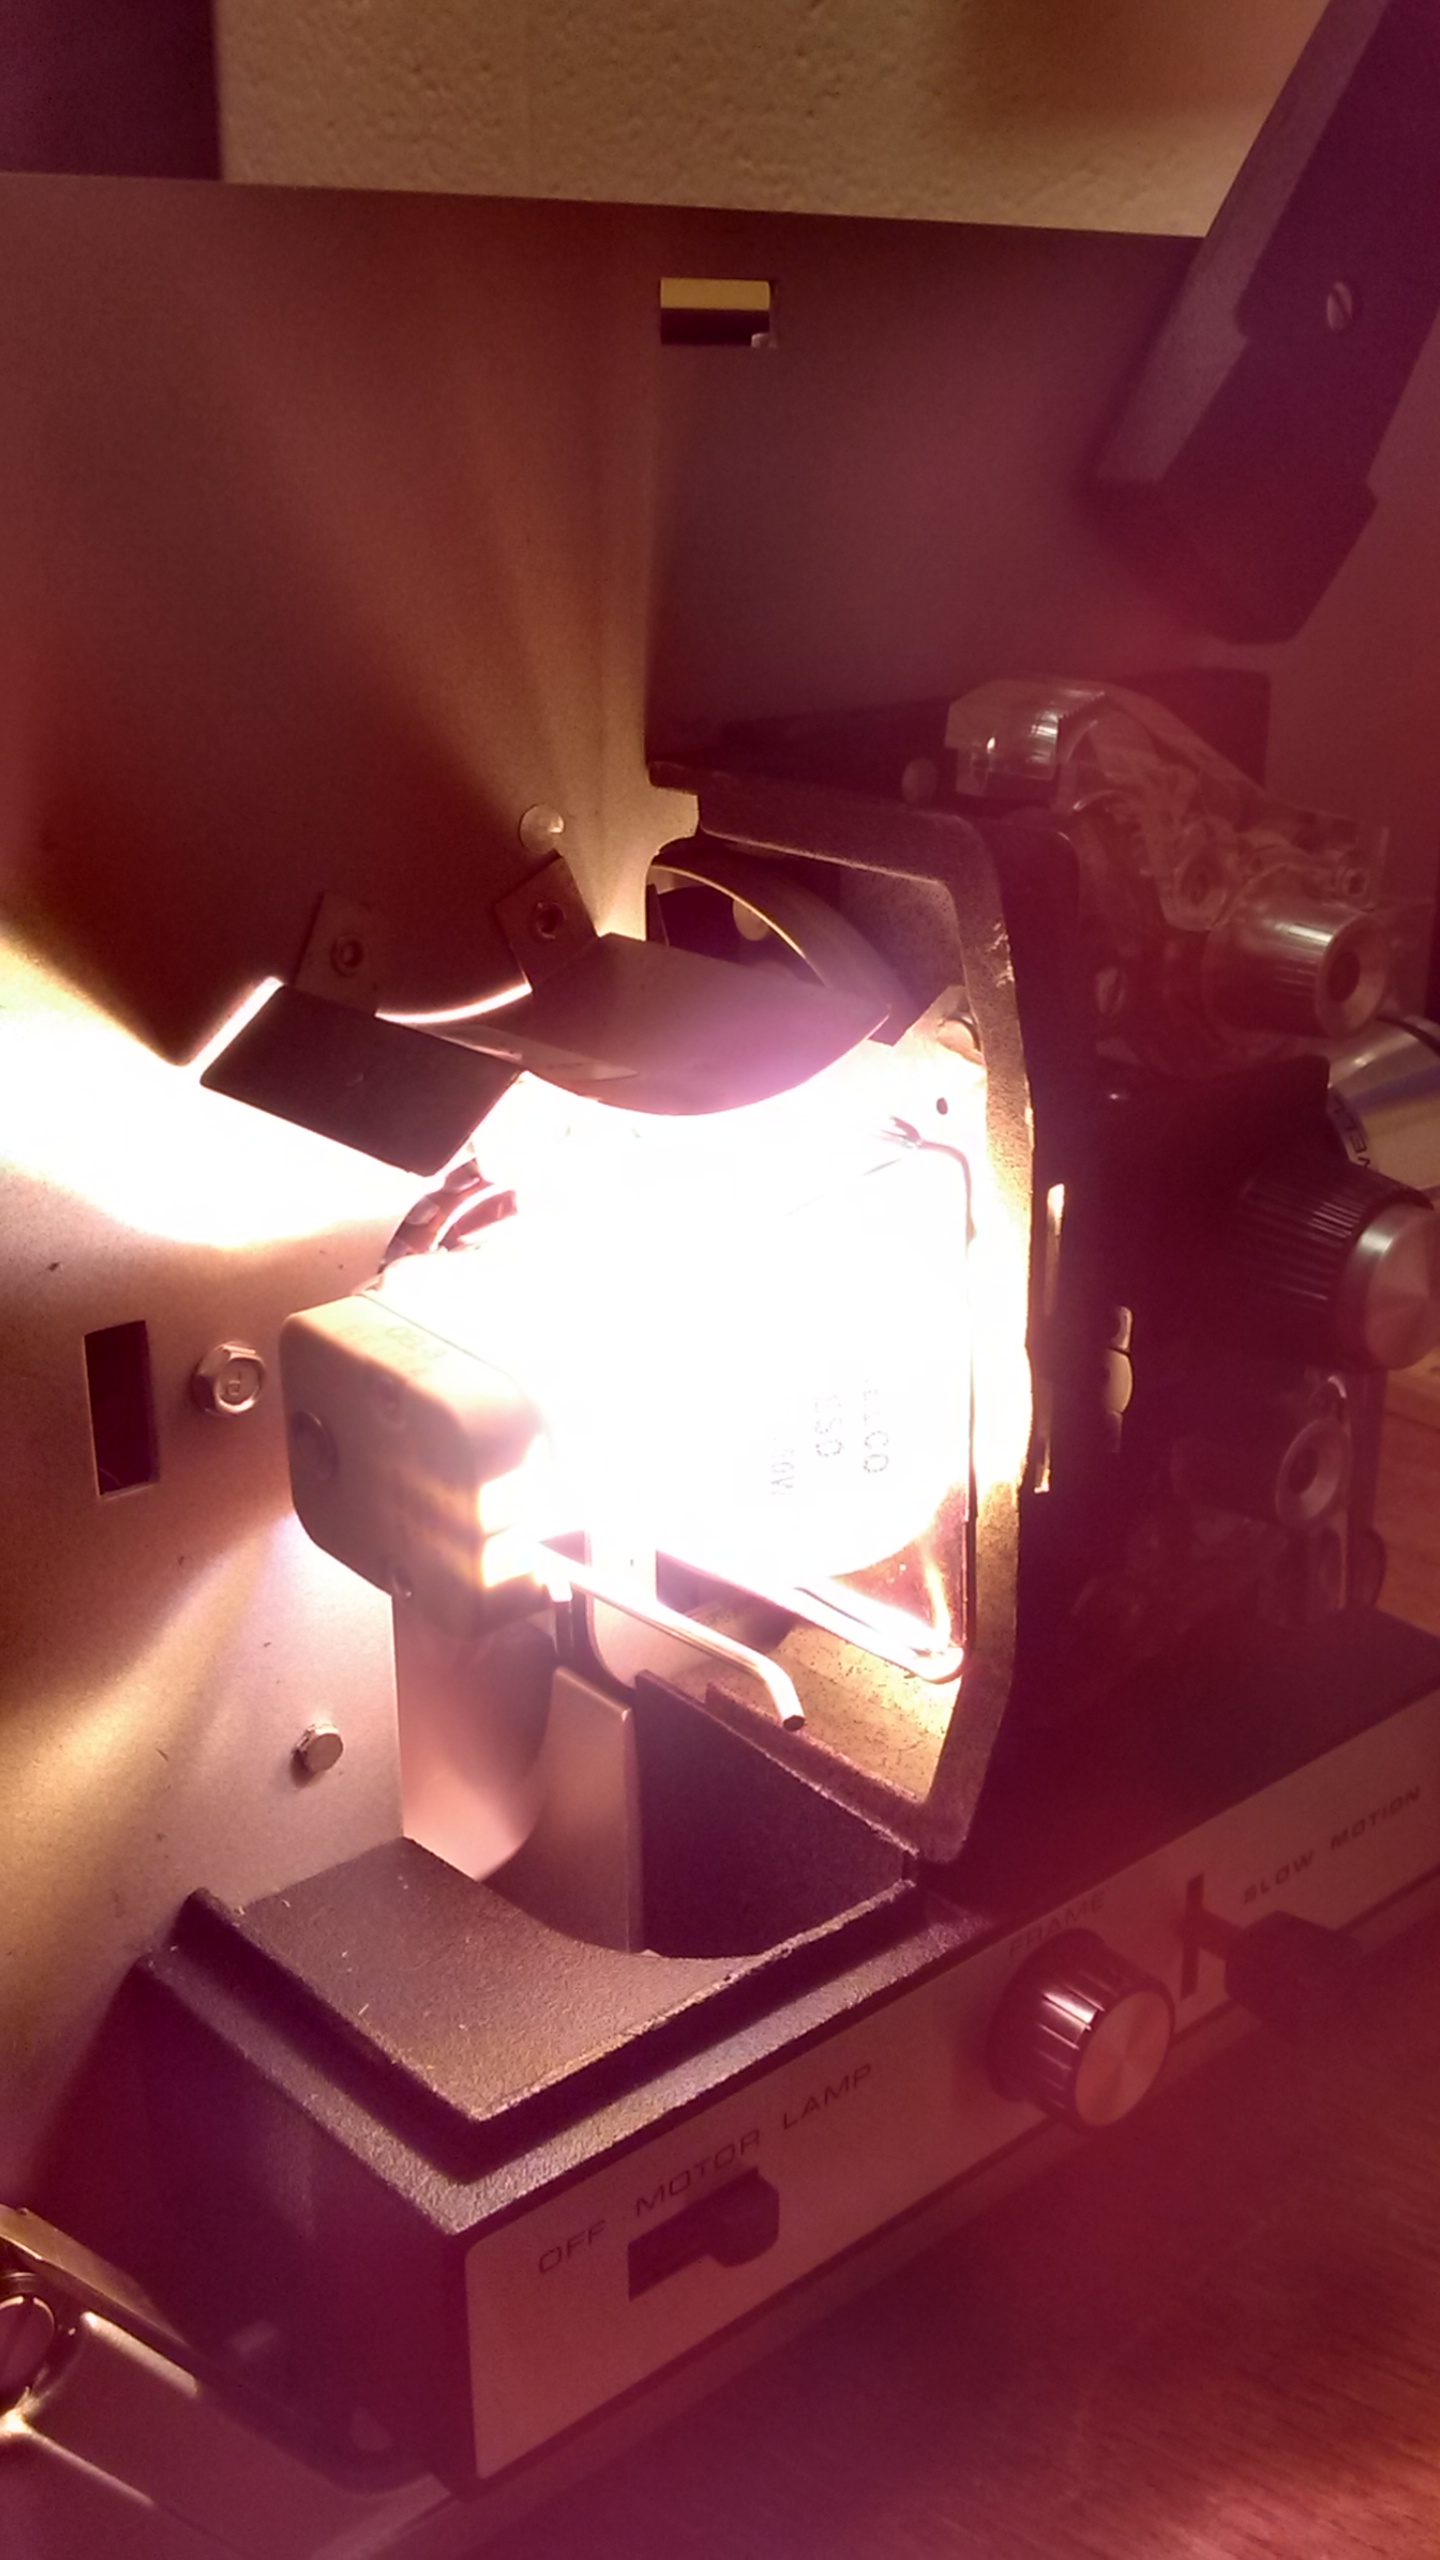
Now all you have to do is wire everything up. I was able to get the new wires through a hole on the side of the mounting fixture (see below). I then removed the old wires (yellow and brown) from the mounting fixture and spliced them to the new wires with some butt connectors. The order of the wires does not matter. Once all the wiring is done fire up the projector and make sure the bulb works.
Put everything back together in the same way you took it apart. I have found that the bulb cover is a teeny bit too small to full snap into place with the new bulb mount. If you wanted you could probably remove the heat shield inside the bulb cover to free up some more space; the new bulb shouldn’t get hot enough to need the shield. I left mine on becuase I’m lazy and it doesn’t really make a difference.
That’s it! Not too bad. There was definitely some trial and error mating the new socket to the copper base, but now that I know what to do I could probably get the whole thing done in about 30 minutes or so. What’s more, the new socket allows you to replace the bulb without getting into the guts of the projector. All in all I’m very happy with this modification and it has massively extended the usefullness of my projector.